Run your security static analysis tests on the cloud with MobSF, AWS, and Bitrise

.jpeg)
As part of Droidcon Berlin this year, I spoke about DevSecOps for Android and how security testing can be injected into the CI/CD pipeline and Mobile DevOps. You can find the video here. Additionally, you can read the detailed article about DevSecOps from this article.
In the presentation, I mentioned different automated security testing tools that we can use with Android.One of these tools is MobSF — it’s an open-source static analysis tool that can find insecure code patterns in your Android and iOS source code supports Java, Kotlin, Swift, and Objective C.
There is a live version of the tool and you can upload your APK and scan it — but what if you need to have your own version installed on your own server or machine? Because of that, in this article, I will demonstrate how to run the MobSF Docker container on an AWS EC2 machine and use the API to upload the Android APK to the server to start the scanning process.
Sounds interesting? Let’s get started.
The prerequisites
This demo is required the following prerequisites:
- A free AWS account
- A free Bitrise account
- A free GitHub account
- An Android application, you can fork the Insecure Shop app from GitHub and use it as a demo if you don’t have an Android app.
Now let’s build our solution.
1- Login to the AWS management console and select the EC2 service.
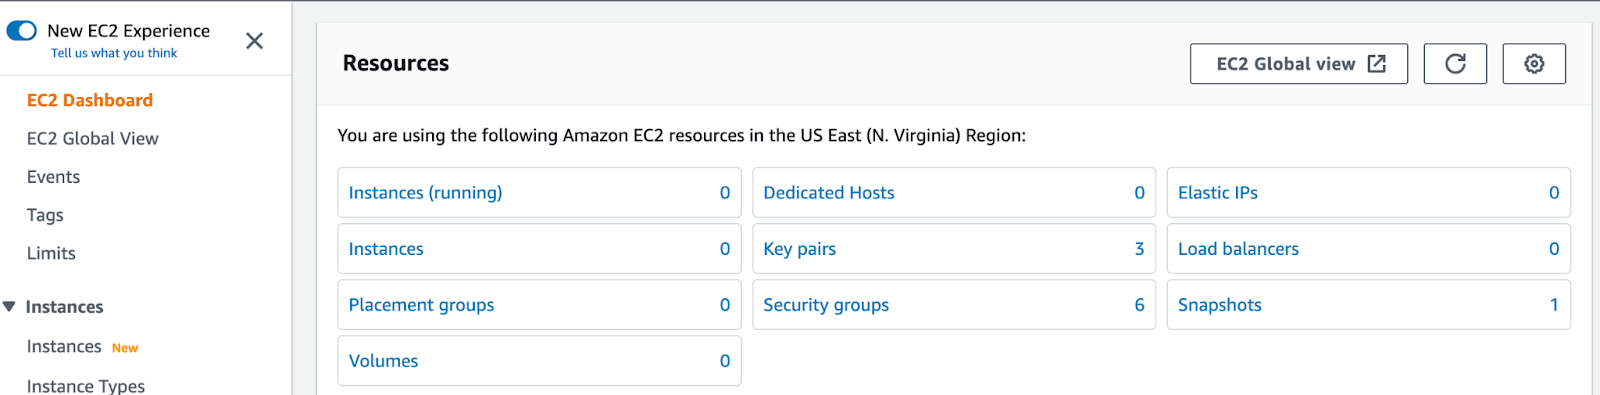
2- Click on Instance to launch a new Amazon Linux instance and make sure that’s under the free tier category.
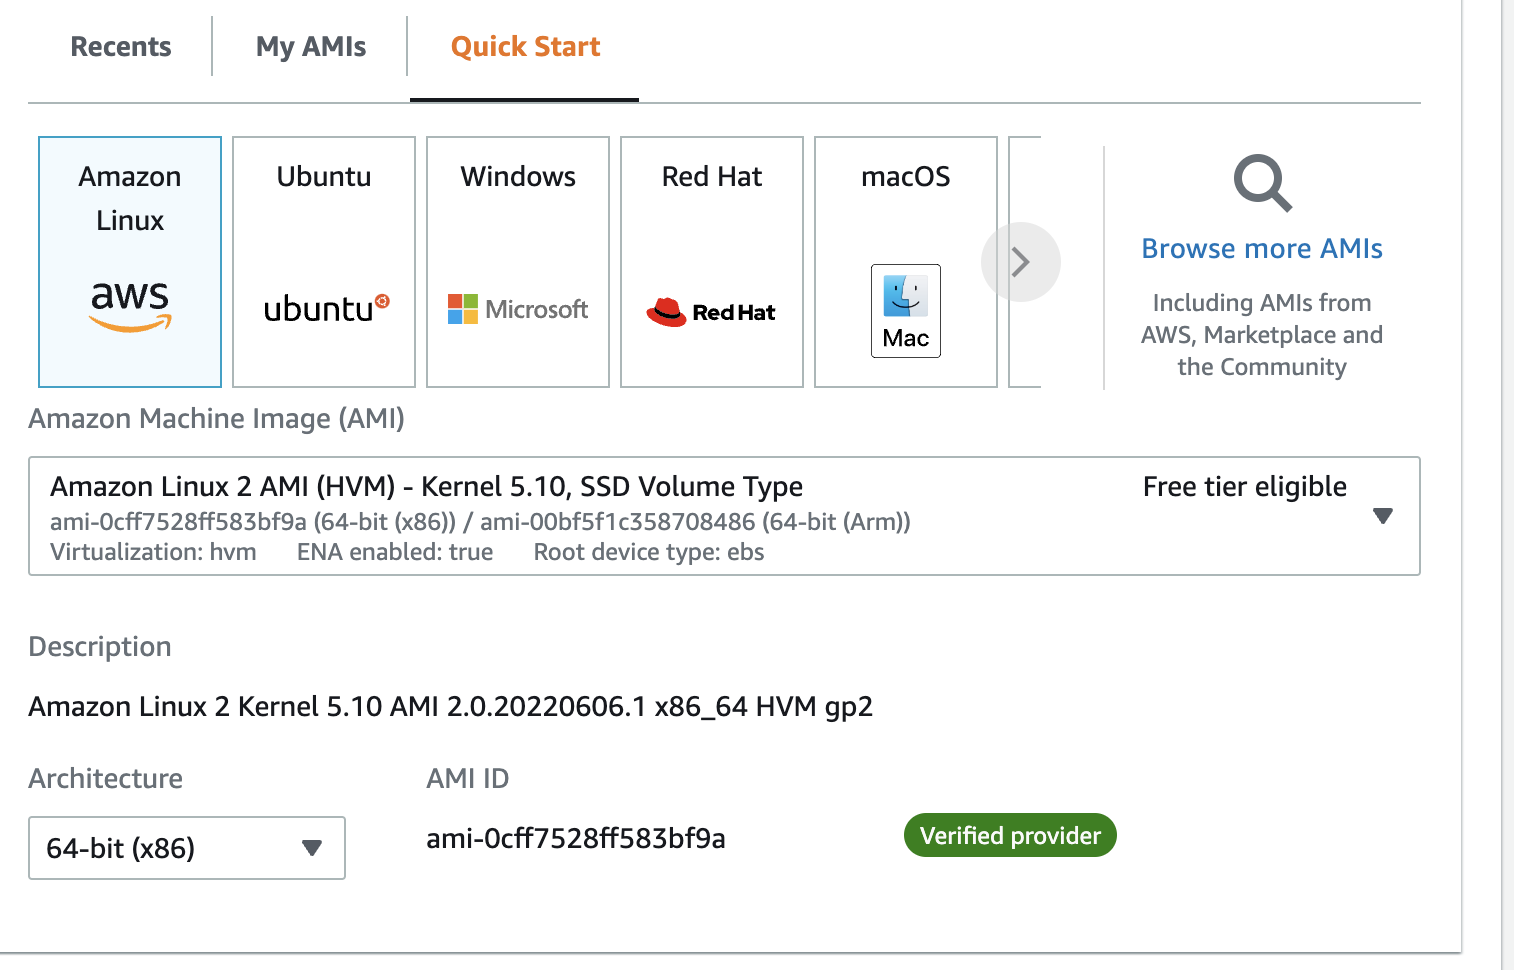
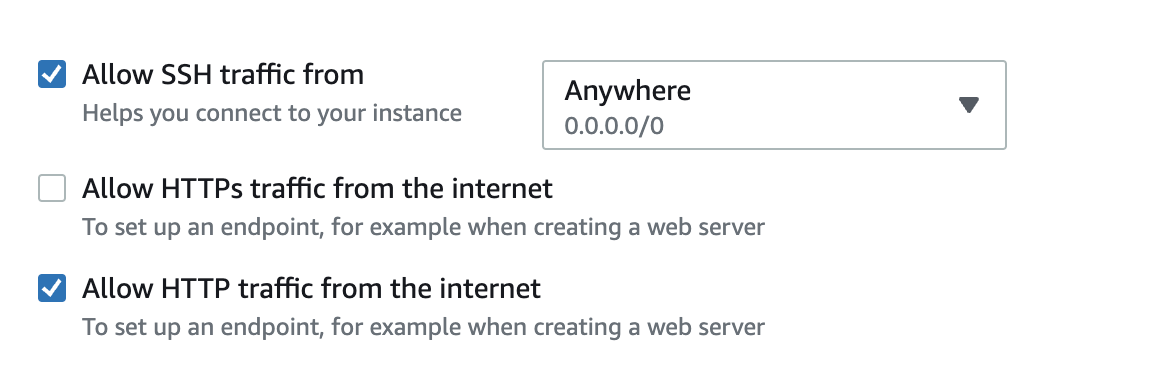
3- Then select the instance type, key pair, and security group, and make sure that you allow the HTTP or HTTPS to be able to access the machine from the browser beside the SSH.
4- Click Launch the instance and wait to tell it becomes ready to access.
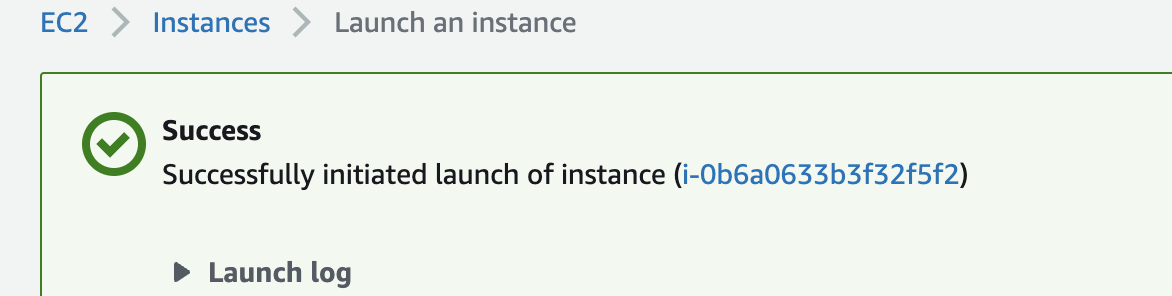
5- You have a machine with public IP and also you can assign a domain name to it if you want.
6- Now the VM is ready and you can access it by clicking on the connect button. You can choose between different clients but I’m using the default one in this demo which is the EC2 Instance Connect.

7- We are inside the machine now and we can start using the shell to run the commands for instance:
sudo yum updateto install the updates
8- Now we need to install the Docker to be able to download and run the MobSF Docker container by the following command:
sudo yum install docker9- Add group membership for the default ec2-user so you can run all Docker commands without using the sudo command:
sudo usermod -a -G docker ec2-user

id ec2-user

newgrp docker
10- Enable Docker service at AMI boot time:
sudo systemctl start docker.service11- Get the Docker service status on your AMI instance, run:
sudo systemctl status docker.service12- See the Docker version:
docker version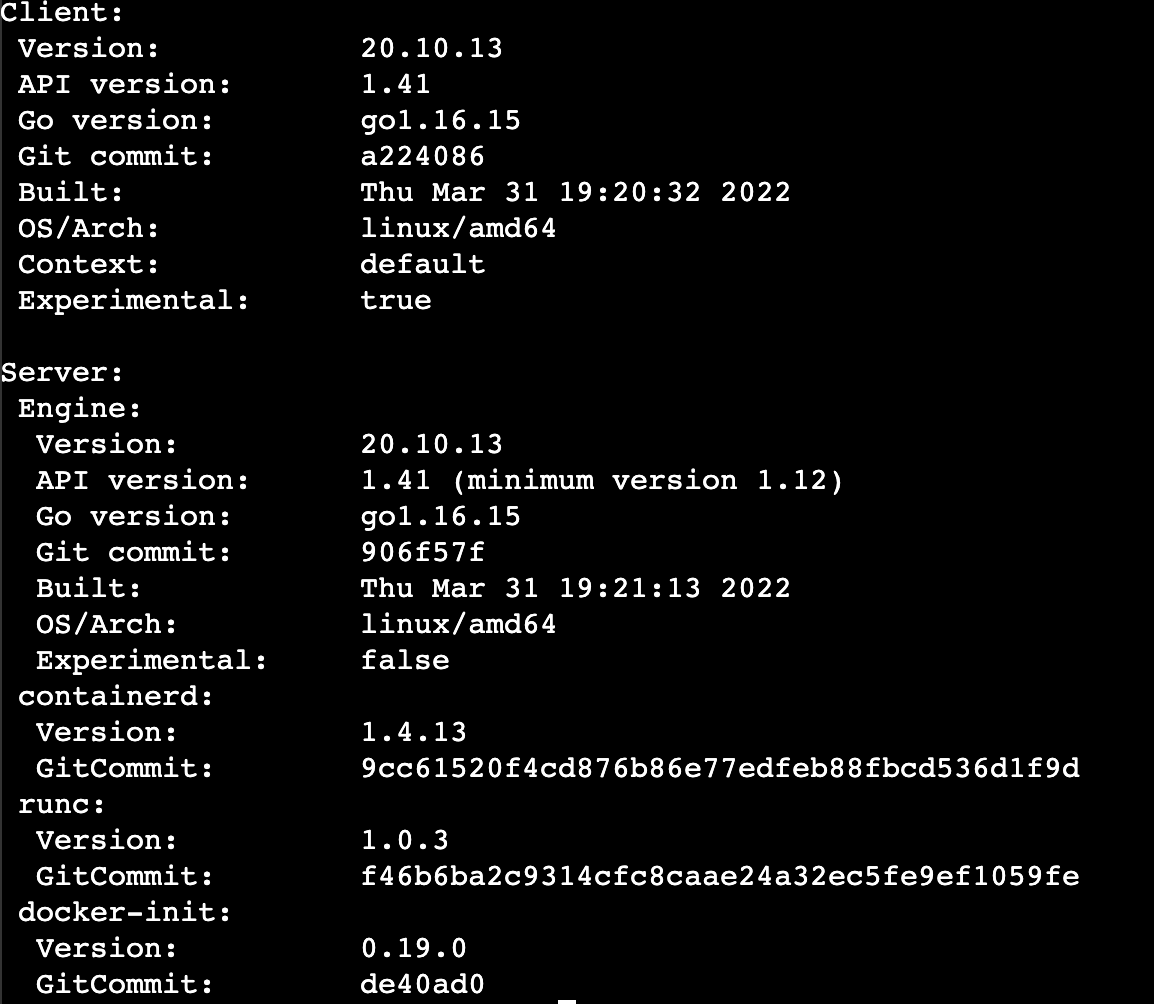
13- In the MobSF documentation, you can find how to install the Prebuilt Docker image by the following command:
docker pull opensecurity/mobile-security-framework-mobsf

docker run -it --rm -p 8000:8000 opensecurity/mobile-security-framework-mobsf:latest
Now Docker will start to pull the image and build the container and it will be linked to port 8000.
Because of that, we need to update our security group for this instance to add this port to be able to access it by editing the Inbound rules.

14- Now you can try to access the VM via the browser and the result should be like the following image:
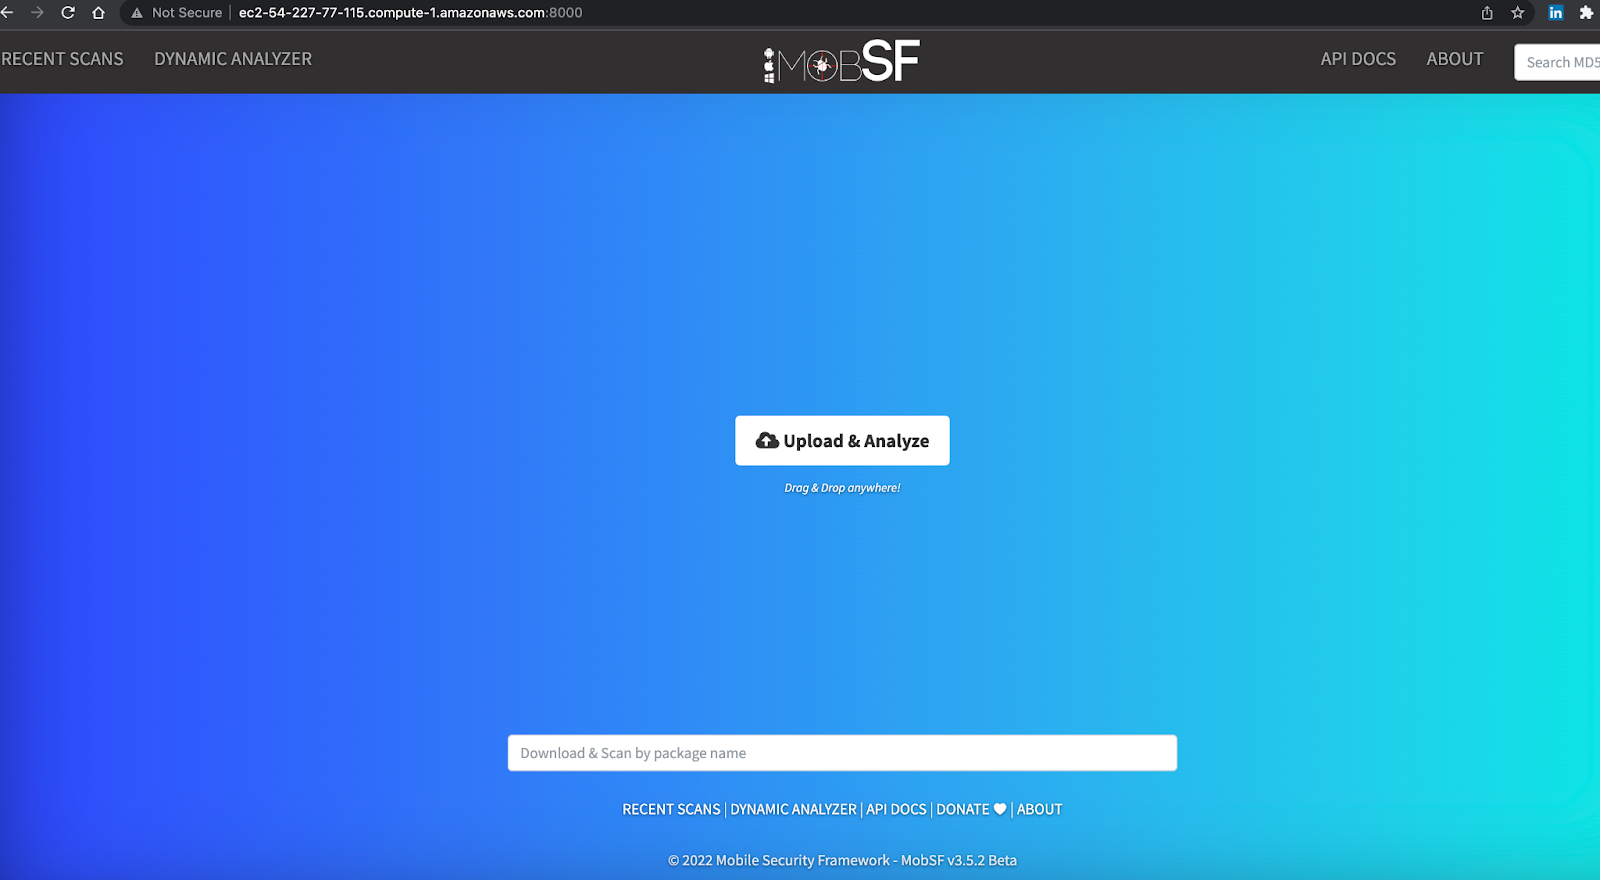
Congratulations, you have successfully installed the MobSF tool on your machine.
Now you can upload the APK manually if you want to scan them but in the next step, we will use the MobSF API from Bitrise to upload the APK after we run the build step and will send it to the MobSF server.
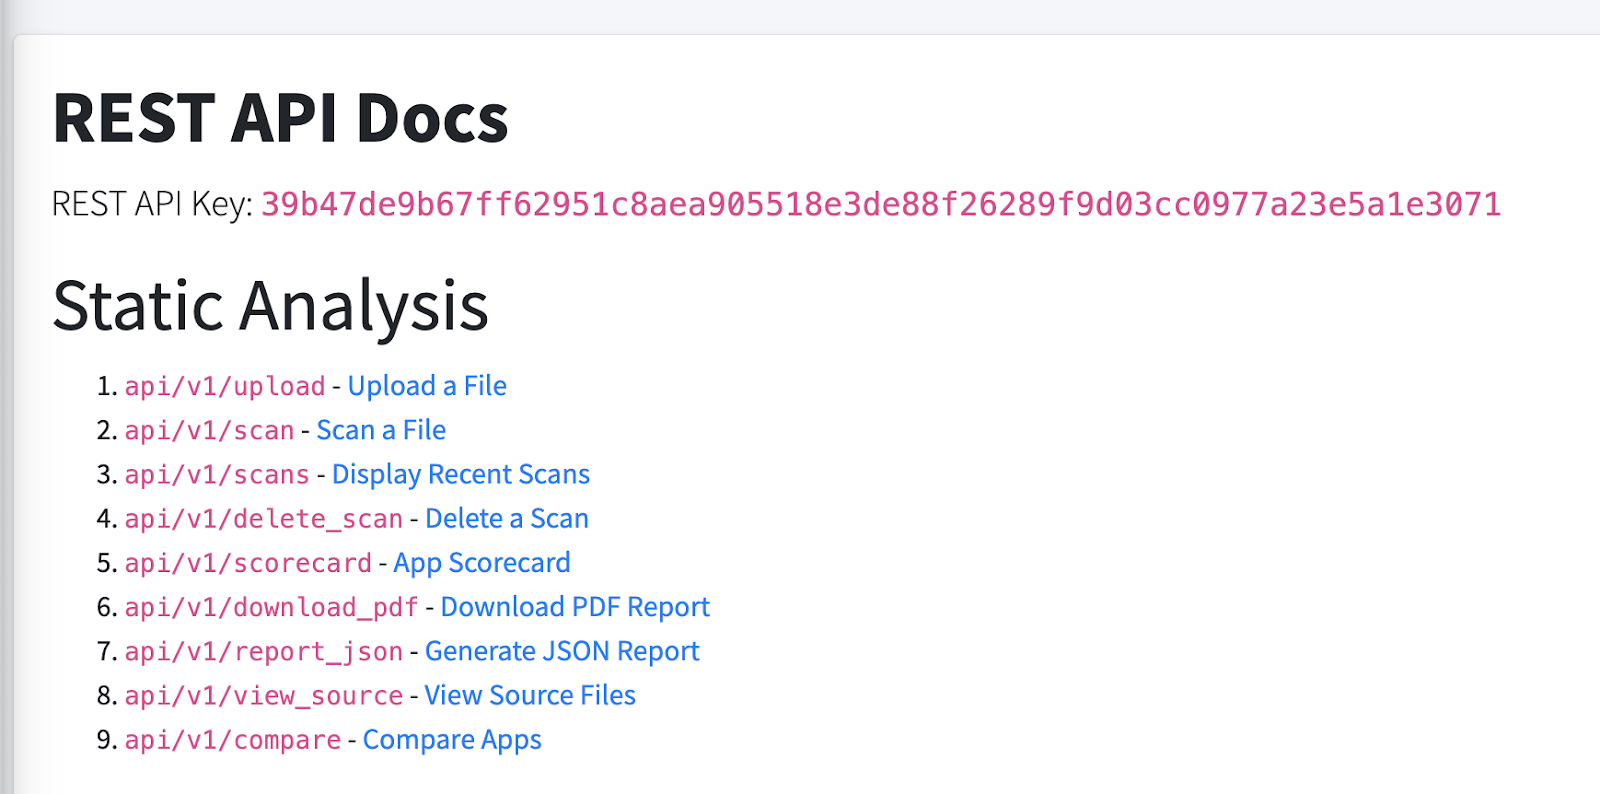
15- Click on API Doc and copy the API Key because we will use it on Bitrise.
I’m assuming that you already have an Android app on Bitrise, but if you don’t you can check how to get started with Android from our documentation.
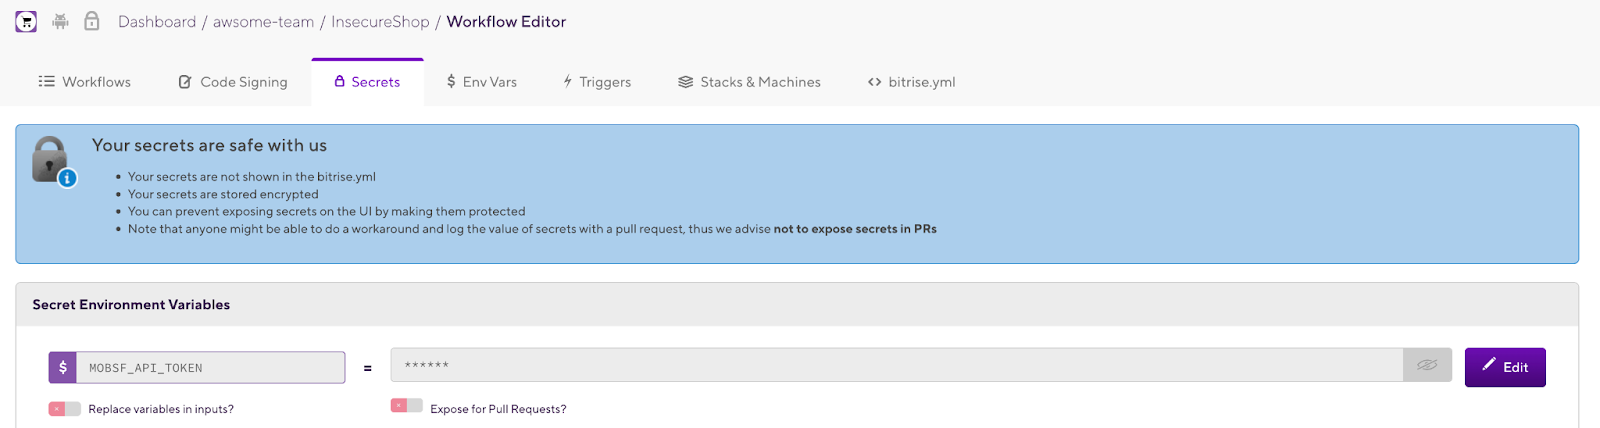
16- Inside your Android app on Bitrise, click on the Workflow Editor and select the Secrets tab.
17- Create new Secret Environment Variables for the MobSF API Key.
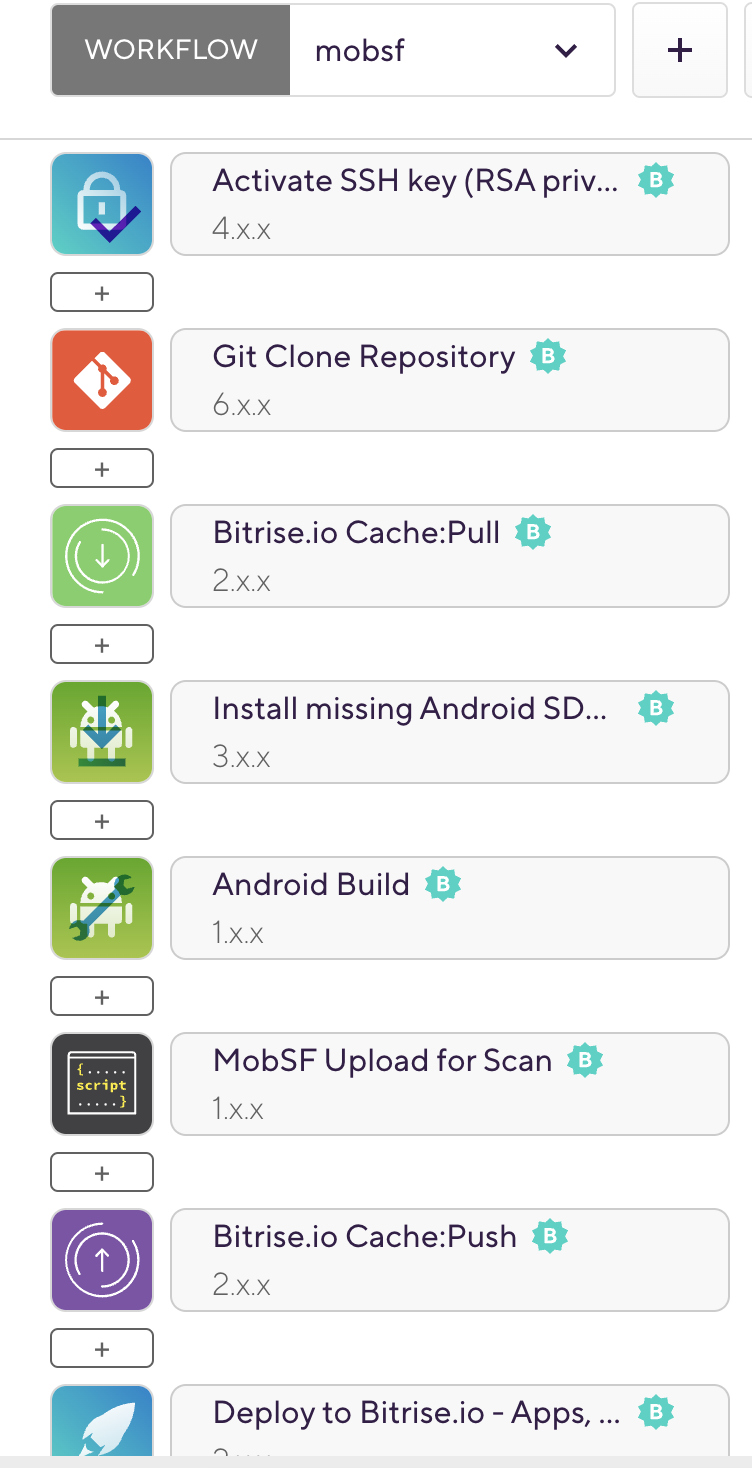
18- In the Workflow Editor, add the required steps to build the Android APK and add a Script step to be able to use the MobSF API using curl.
19- In the Script step, add the following curl command:
#!/usr/bin/env bash
set -e
set -o pipefail
set -x

curl -F "file=@$BITRISE_APK_PATH" http://ec2-23-20-138-80.compute-1.amazonaws.com:8000/api/v1/upload -H "Authorization:$MOBSF_API_TOKEN"
The above command includes your EC2 public URL with the port for MobSF and the APK path which we will upload from the previous step after we build the application.
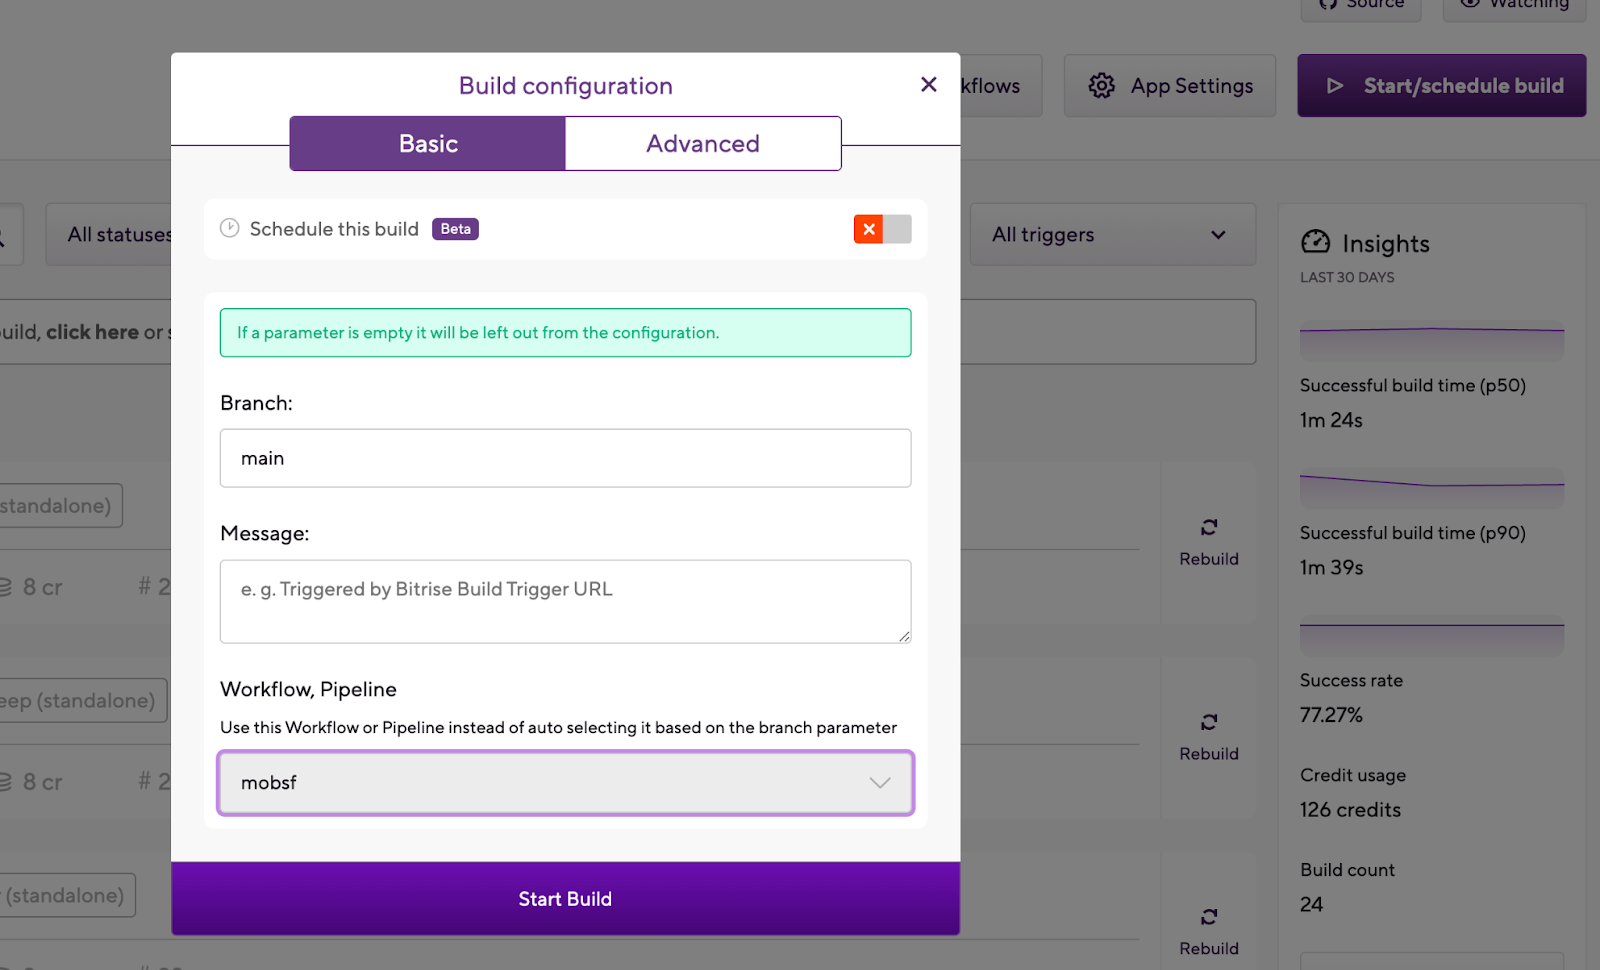
20- Now run the Bitrise build with the Workflow.

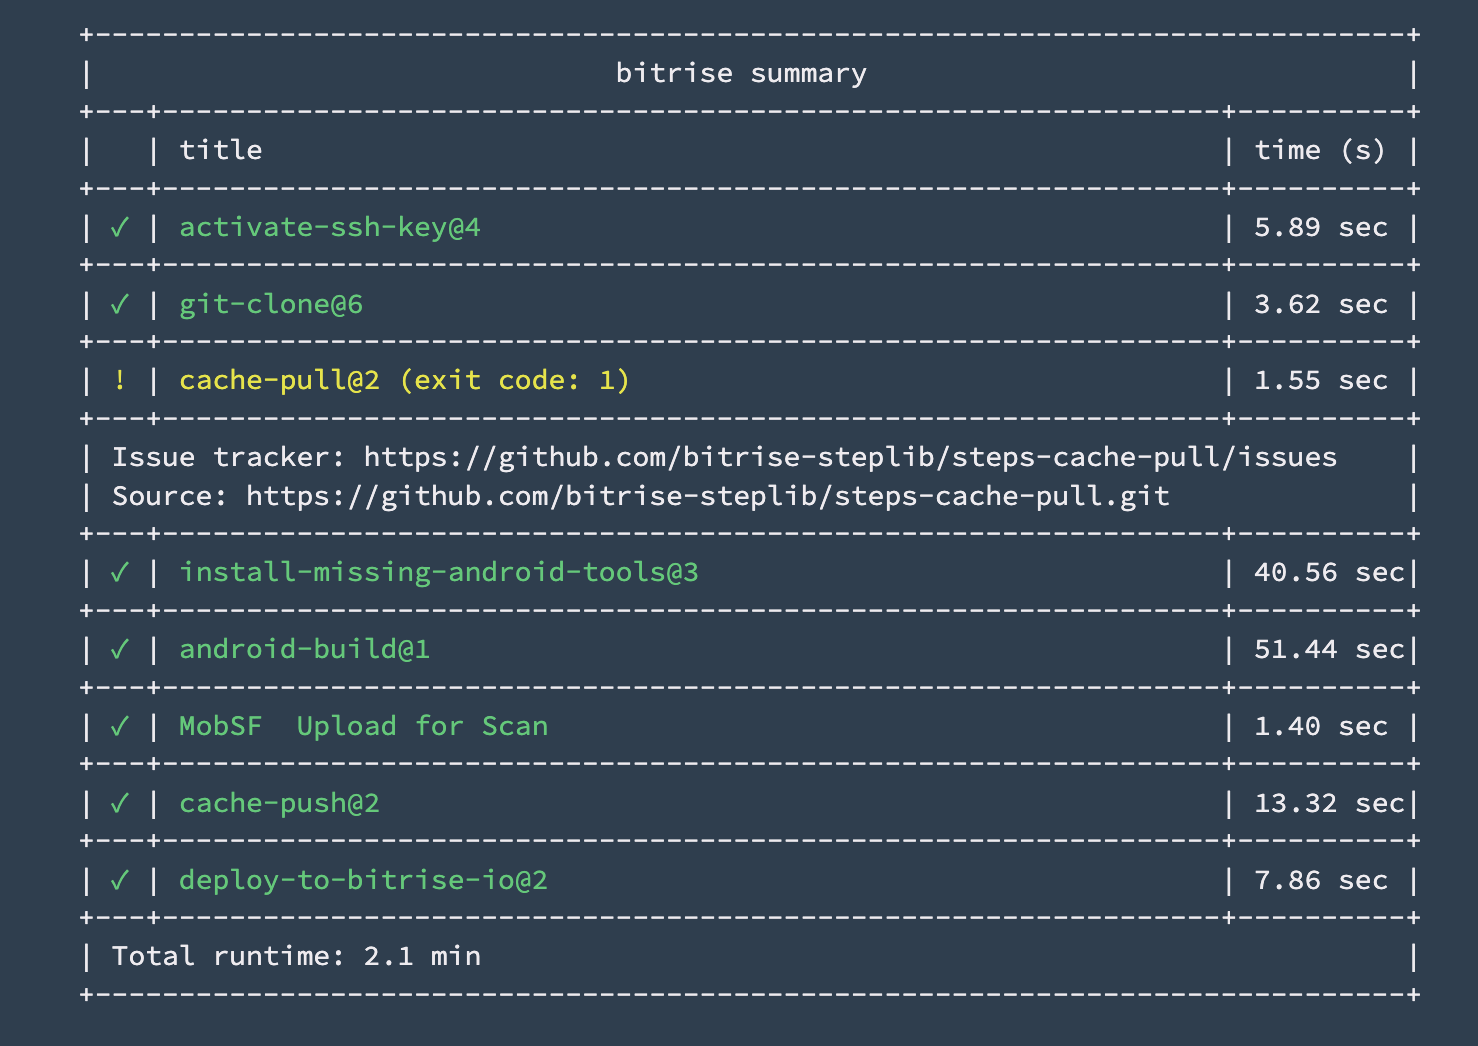
We built the app successfully and uploaded it to our MobSF server.
The build successfully is finished.
And now you can check the MobSF server and you will find our application in the recent scans.

Click on Static Report to check the scan results.
Also if you are still opening the SSH session you can notice that the Docker container starts performing the static analysis scan.
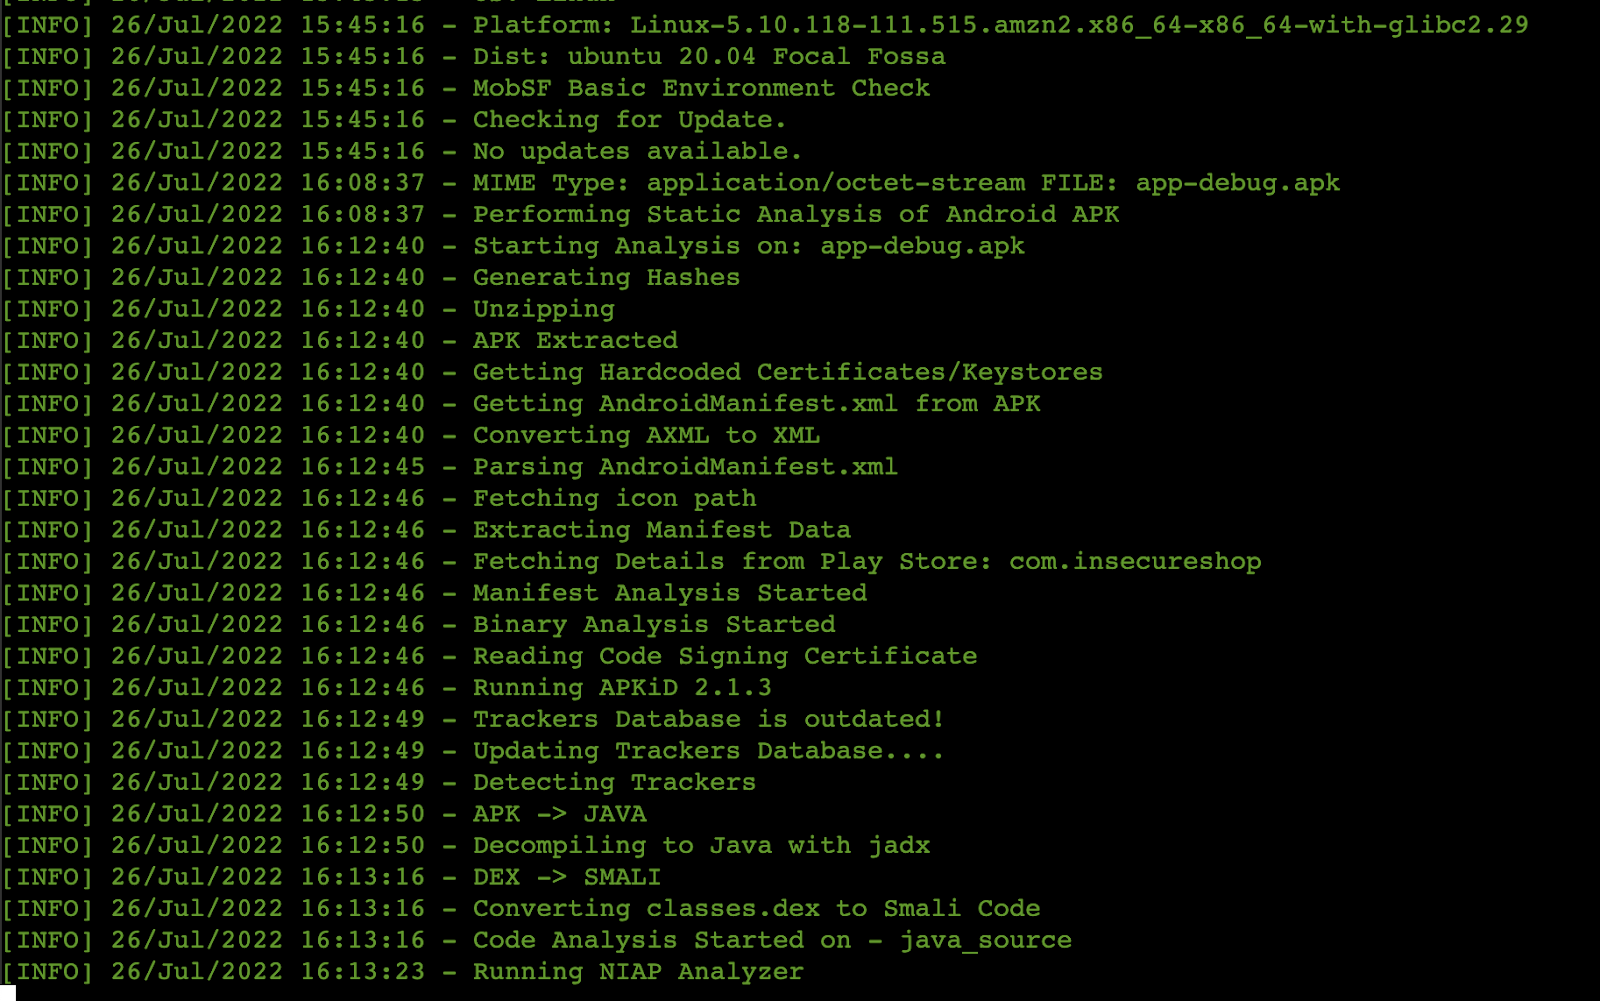
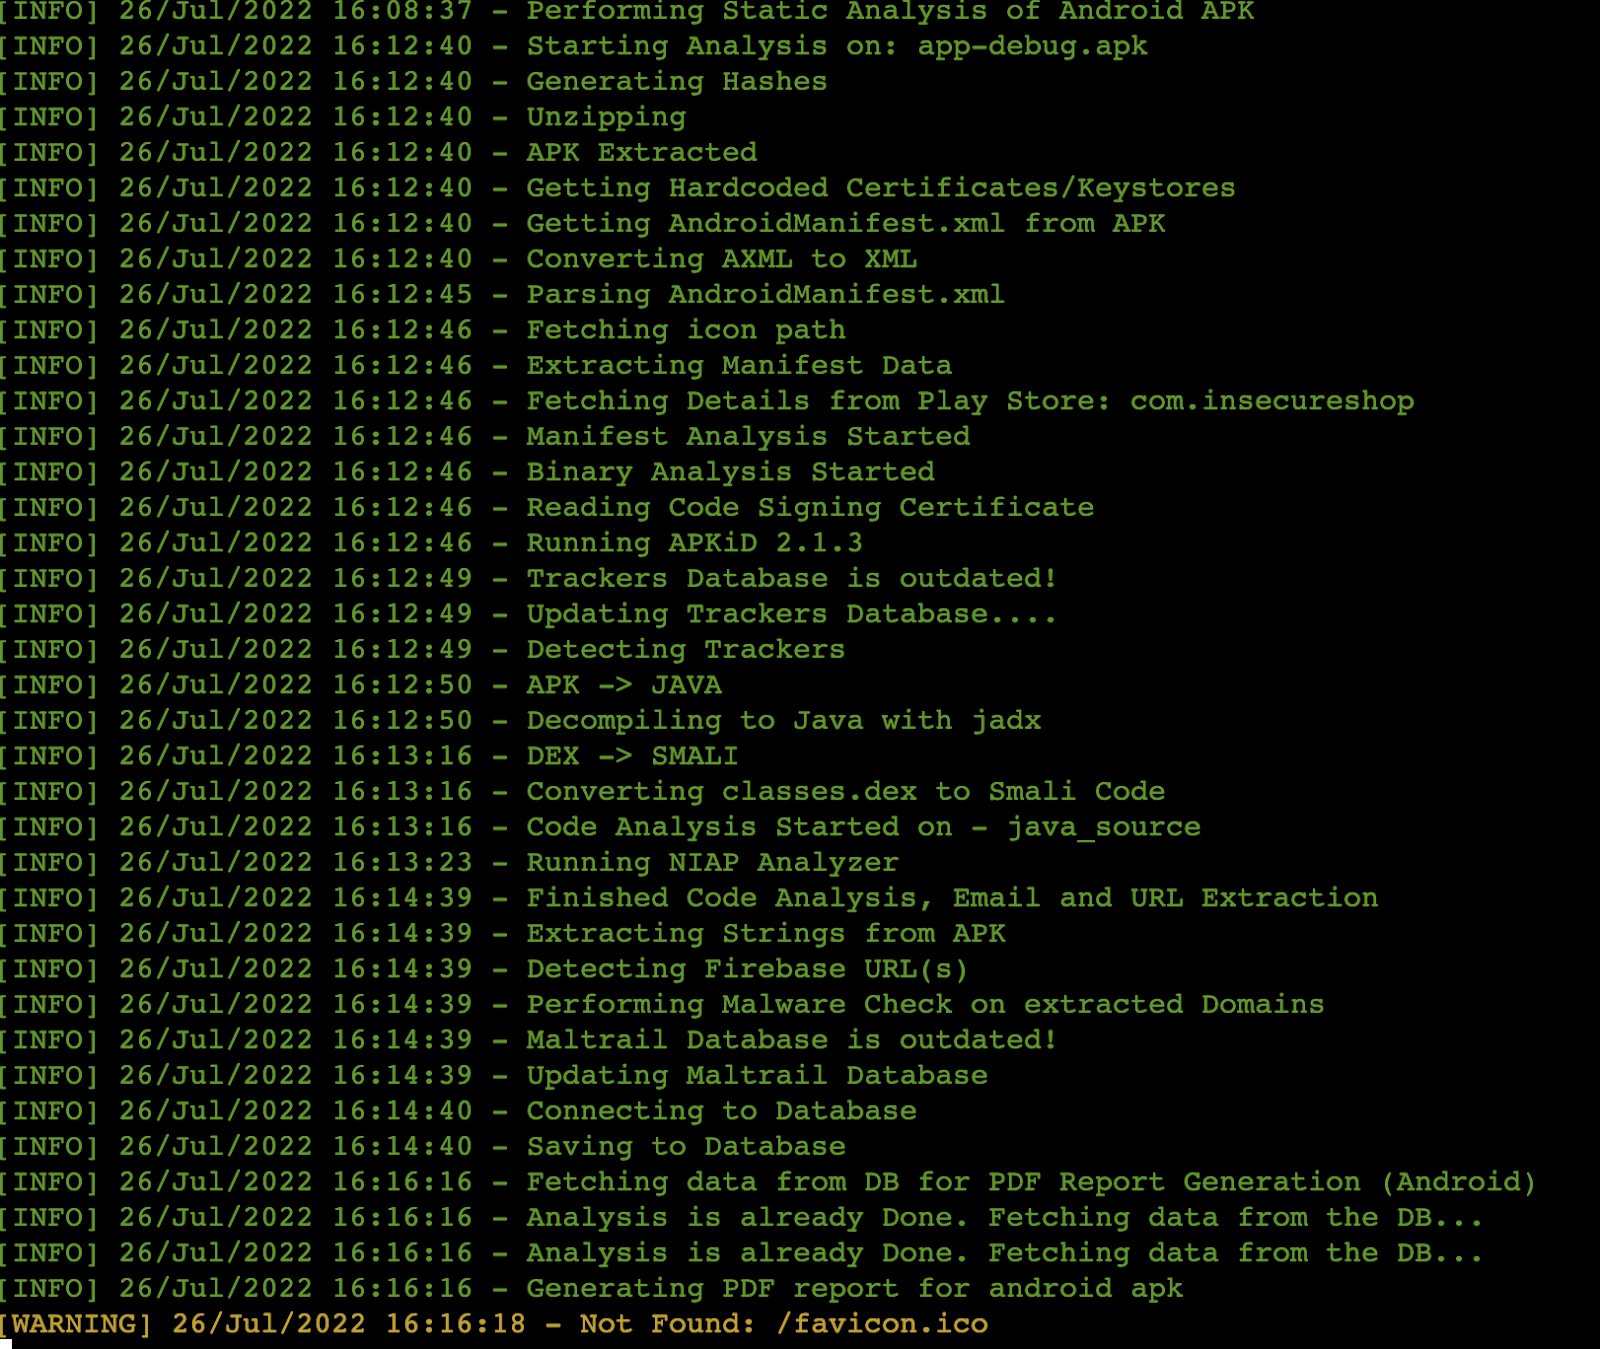
There will be a variety of categories displayed and you can begin reviewing your results.

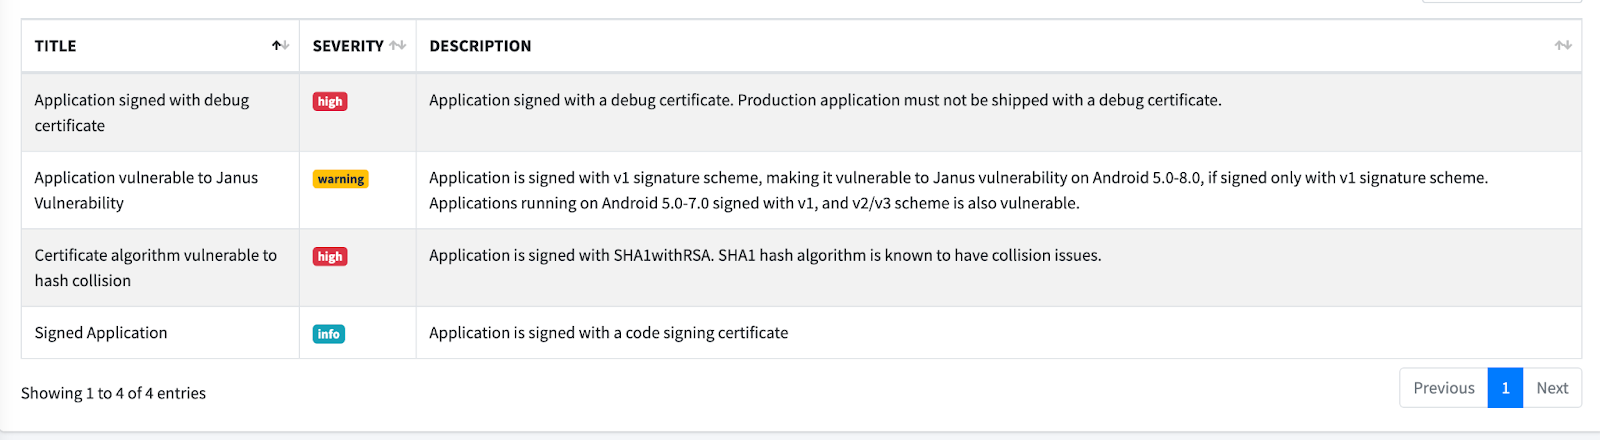

You can also generate the PDF report or print it.

What’s next?
We can use different API endpoints to get the scan results to Bitrise and mark the build as failed if there are security issues such as using the App Scorecard API.
Also, we are now running the solution with a Docker container and if we shut down the instance all the results will be cleared, so we can implement a solution to save the data with any database such as Postgres but in this case, you need to install and use docker-compose as mentioned in the GitHub repository.
And finally, this example was for Static Analysis only because based on the MobSF documentation Dynamic Analysis is not supported with Docker.
The Dynamic analysis can be performed on the VM by installing MobSF without Docker, following the setup instructions in the documentation.
Thank you for reading and happy building!
Moataz, Bitrise Developer Relations team
Get started for free
Get a 30-day free trial and join the 400,000+ mobile developers who already love Bitrise.
Start free trial