Today, test automation is not a nice feature, especially when it comes to mobile apps since there is a lot of competition on the market and we are increasingly relying on mobile apps, which adds more pressure to release quality mobile apps quickly.
And also if you are planning to implement CI/CD pipelines in your team, you need to know that Test Automation now is a vital part of this process and without it, you can't release your products frequently.
There are many tools and frameworks available, from native to cross-platform, and you should choose one that suits your team and application.
Because of that, in this article, I'd like to share my thoughts about the new mobile UI testing framework from Mobile.dev, it's Maestro.
Sounds good! Let's get started!
What is Maestro?
Maestro is the simplest and most effective open-source mobile UI testing framework developed by Mobile.dev. It's built on learnings from its predecessors (Appium, Espresso, UIAutomator, XCTest) and allows you to easily define and test your Flows (the user journey in the app or you can say the E2E scenarios).
Maestro is yaml based which means you are defining the test flows inside a flow.yml file and can run it on the devices.
Maestro has different features such as
- Flakiness is tolerated by design. In Maestro, the unstable nature of mobile apps and devices is accommodated and UI elements are deconstructed to counter the instability.
- No need to call sleep() repeatedly in your tests. The Maestro knows that loading the content may take some time (for example: over the network) and waits for it automatically (but not too long).
- There is no need to compile anything because tests are interpreted. As your test files change, Maestro automatically reruns them.
- Maestro supports native (Android and iOS) and cross-platform mobile platforms (Flutter and React Native).
Getting started with Maestro
You can install Maestro on macOS and Linux with the default install instructions but on Windows, you need to follow these steps.
The Pre-requests:
- For iOS, install the Facebook IDB tool:
- Booted Android Emulator.
- Booted iOS Simulator.
Then you can install the Maestro CLI using the following command:
After that run the following command
To make sure it's installed successfully you can check the version with the following command
With Maestro CLI you will have different options such as
- test: run the flow on your local machine.
- cloud: run the flow on Maestro Cloud.
- upload: upload the app and the flow file to Maestro Cloud.
- query: find an element that matches a condition.
- hierarchy: prints out the whole view hierarchy that is currently being shown in the app
- download-samples: download sample projects for demonstration.
- login: login to your Maestro Cloud account.
- logout: logout from your Maestro Cloud account.
Writing your first Flow
In my demo, I will use a simple login Android application but the same concepts can be applied to the other platforms because it's the same logic.
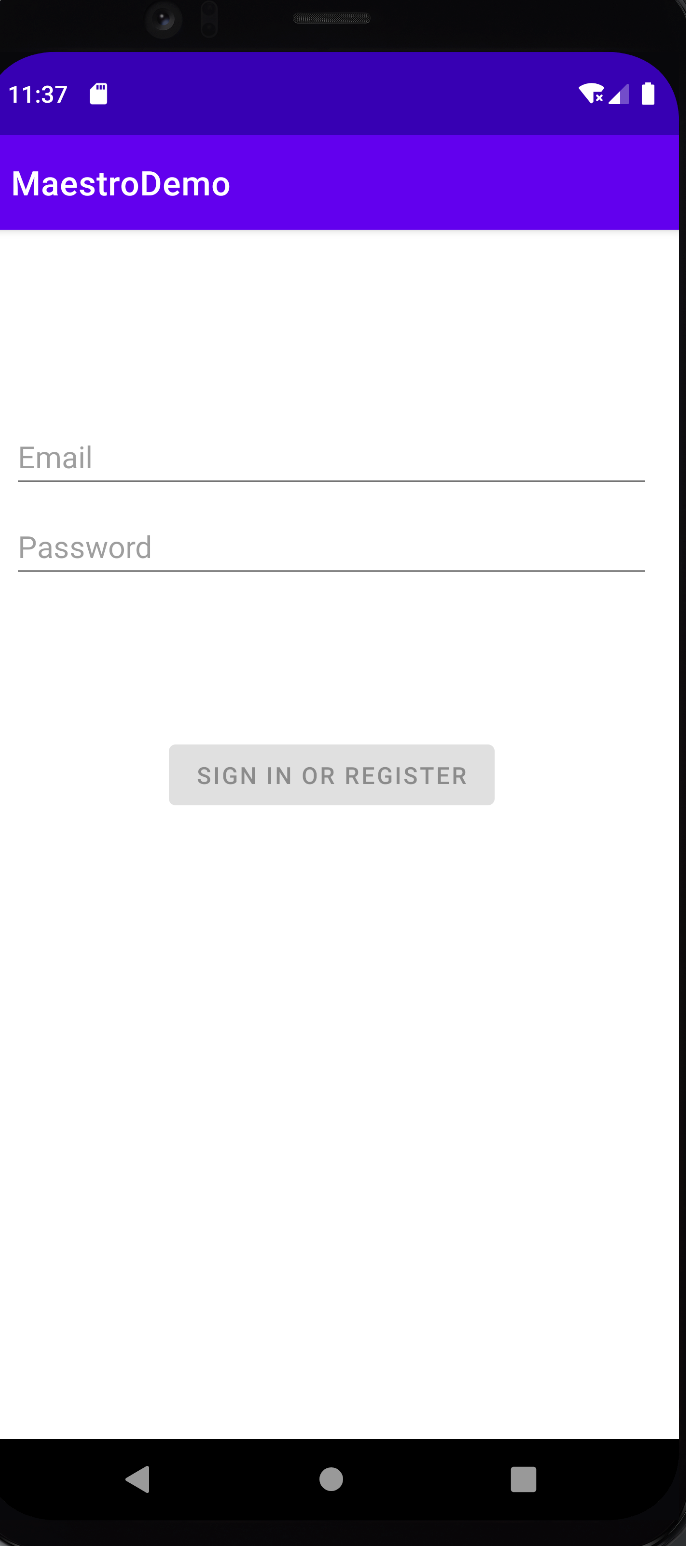
1- Goto the application folder and create a new folder
2- Create a flow yaml file for example flow.yaml
If you are using sublime
Or you can use touch command

The scenario that I need to cover is:
1- Open the application, clear the state and stop the app if it's running.
2- Enter the Email in the textbox.
3- Enter the Password in the textbox.
4- Assert that the Login button is visible.
5- Take a screenshot of the main screen.
6- Click on the Login button.
7- Take a screenshot after login in successfully.
8- Stop the app.
9- Open the flow yaml file to add the following steps:
In the above section, we launch the app using the appId and also stop it if it's already running and clear the State to avoid flakiness as much as we can.
To enter the Email and the Password we need to use InputText and TapOn commands
TIP: You can use random Emails or Texts instead of entering them so the above code will look like this:
Let's complete the example with the following code:
In the above code, we are verifying that the Login button is visible or displayed and take a screenshot before clicking on the button then take another screenshot after this action and finally close or stop the application.
So the full example will be like the following code:

Run the Flow
Before running the Flow you need to build and install the app on the Emulator/device by the following commands:
If the app is successfully installed on the device you can run the Flow, from the command line using the following command:
It will run the Flow, along with any other yaml files you have.
.gif)
And you will notice that the screenshots added to the project directory

Run the tests with a test report
If you need a JUnit report for your tests you can do it easily by running the following command:
And you will find a report.xml file in the project directory. and if you need to override the file name you can use the following command:
Open the results.xml file and you will find the results like the following screenshots

The report helps you to troubleshoot the Flow for example if you didn't install the app you will find this failure.

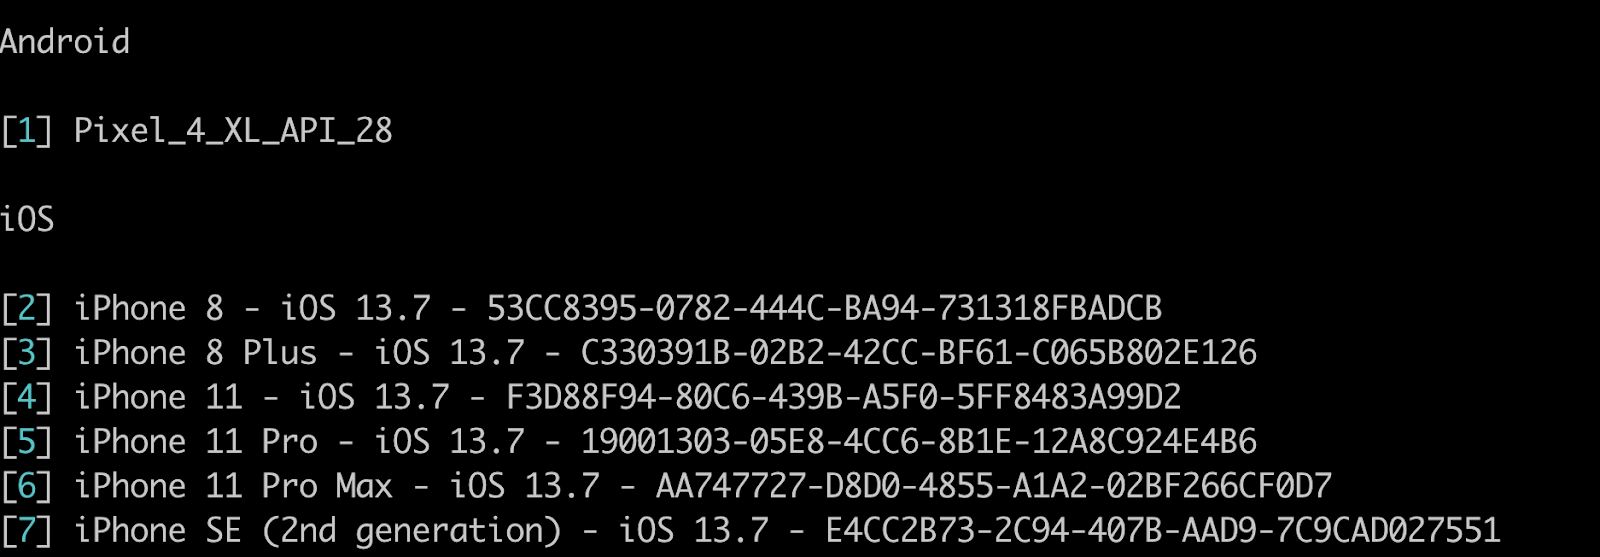
Furthermore, if you did not boot the emulator, you will see a list of the devices that are available on our machine and you can write the number to boot the device, as shown in the screenshot below.

Run the Flow on Maestro Cloud
Maestro Cloud is another great feature from Mobile.dev for Maestro, which runs your Flows in the cloud without the need to configure any simulators or emulators. You can easily integrate Maestro Cloud into your existing CI workflows this way.
Among the features of Maestro Cloud are
- Parallel Test Execution.
- Managed iOS simulators and Android emulators.
- Screen Recordings.
- Maestro Command Output.
- Application Logs.
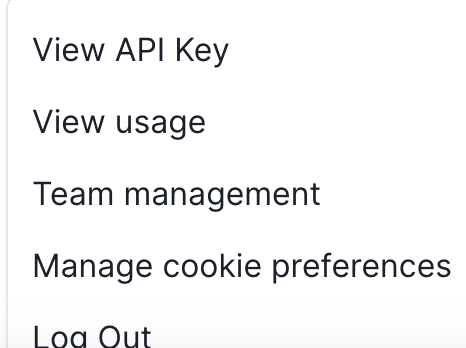
You must first create an account here in order to run the Flows on Maestro Cloud because you need an API Key from the Console, click on your email and copy the API Key.
Or you can log in from the command line using the following command:
And then run the test using the following command:
In my case, it will be like
Using this command, you will upload the binary file, startup Android Emulator, and run the Flow.
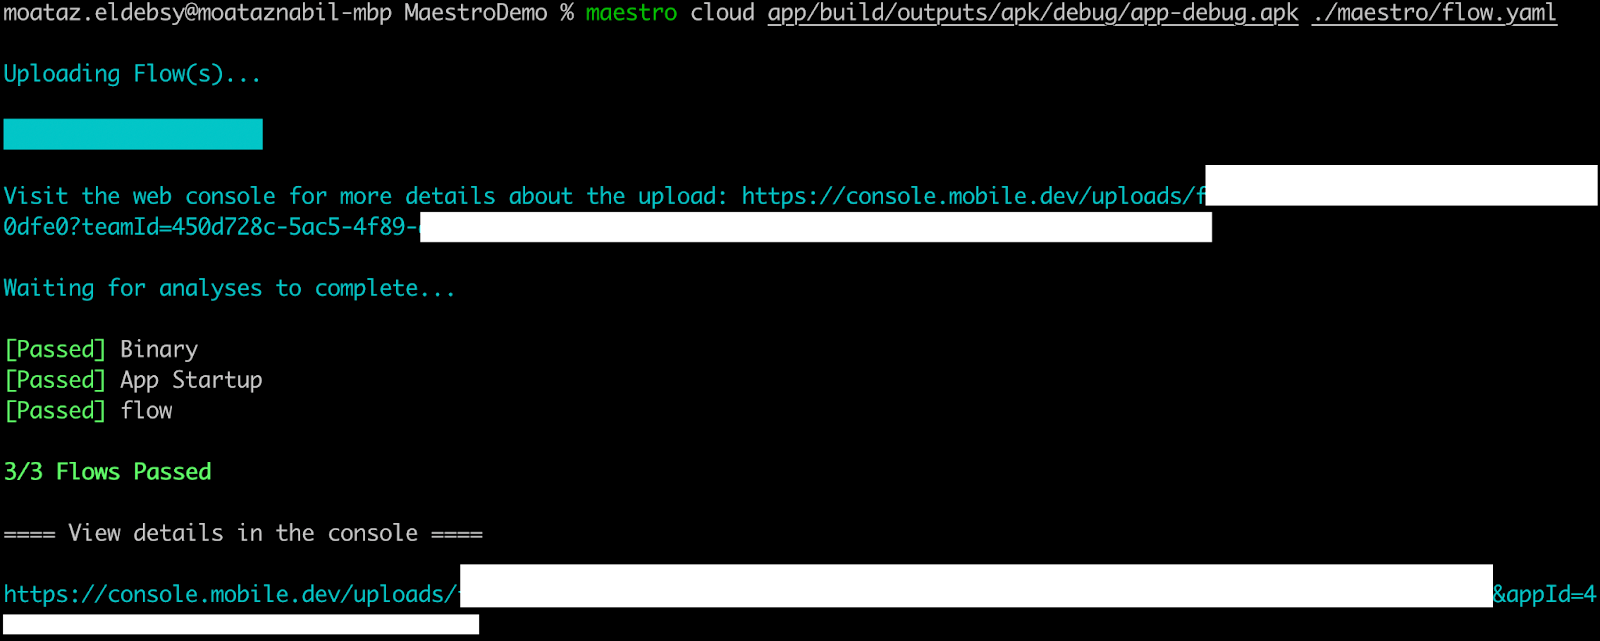
Go to the Maestro Cloud Console to check the run results as displayed in the following screenshots
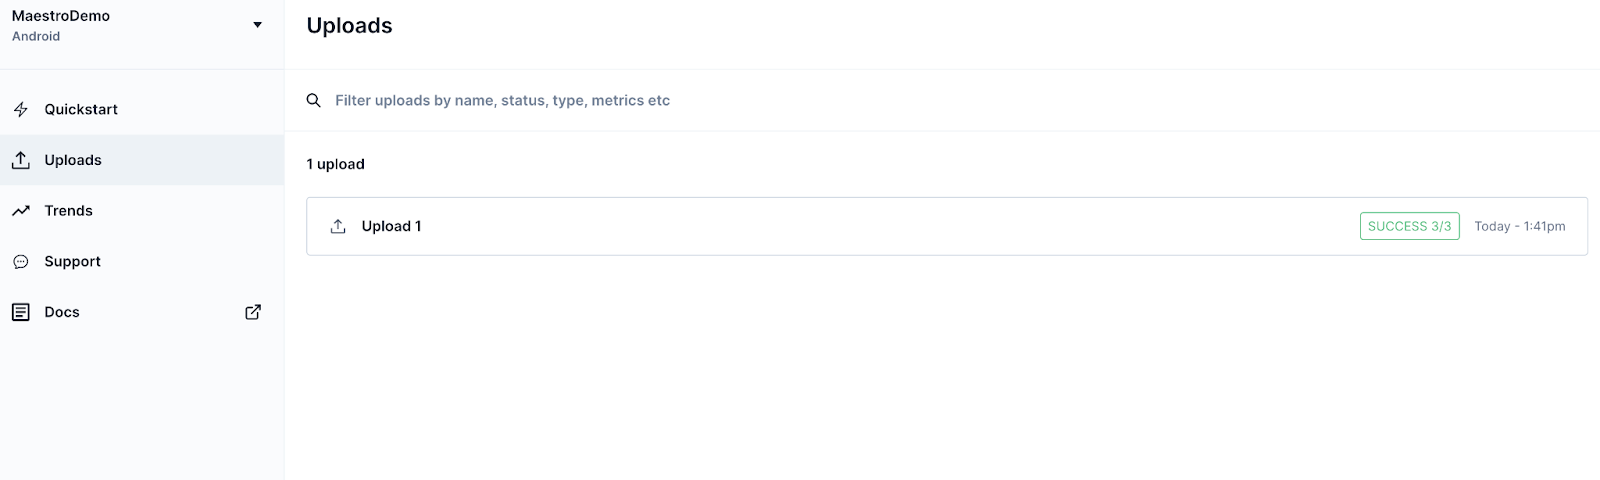
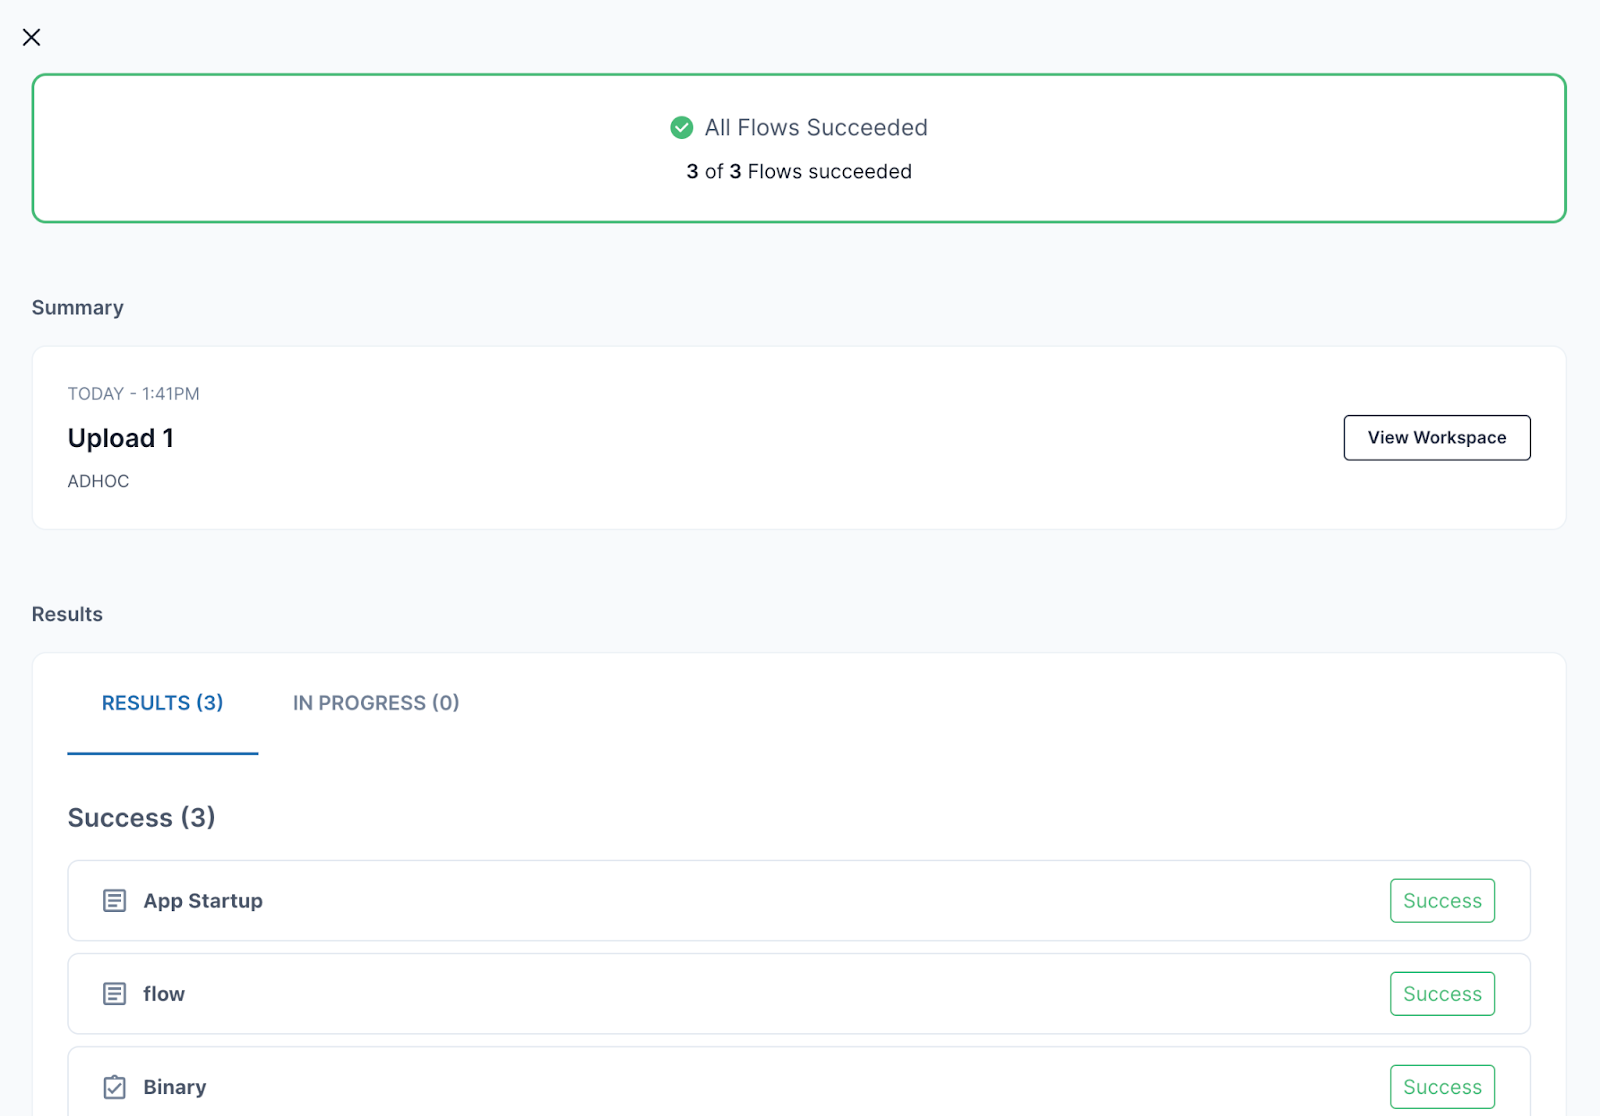

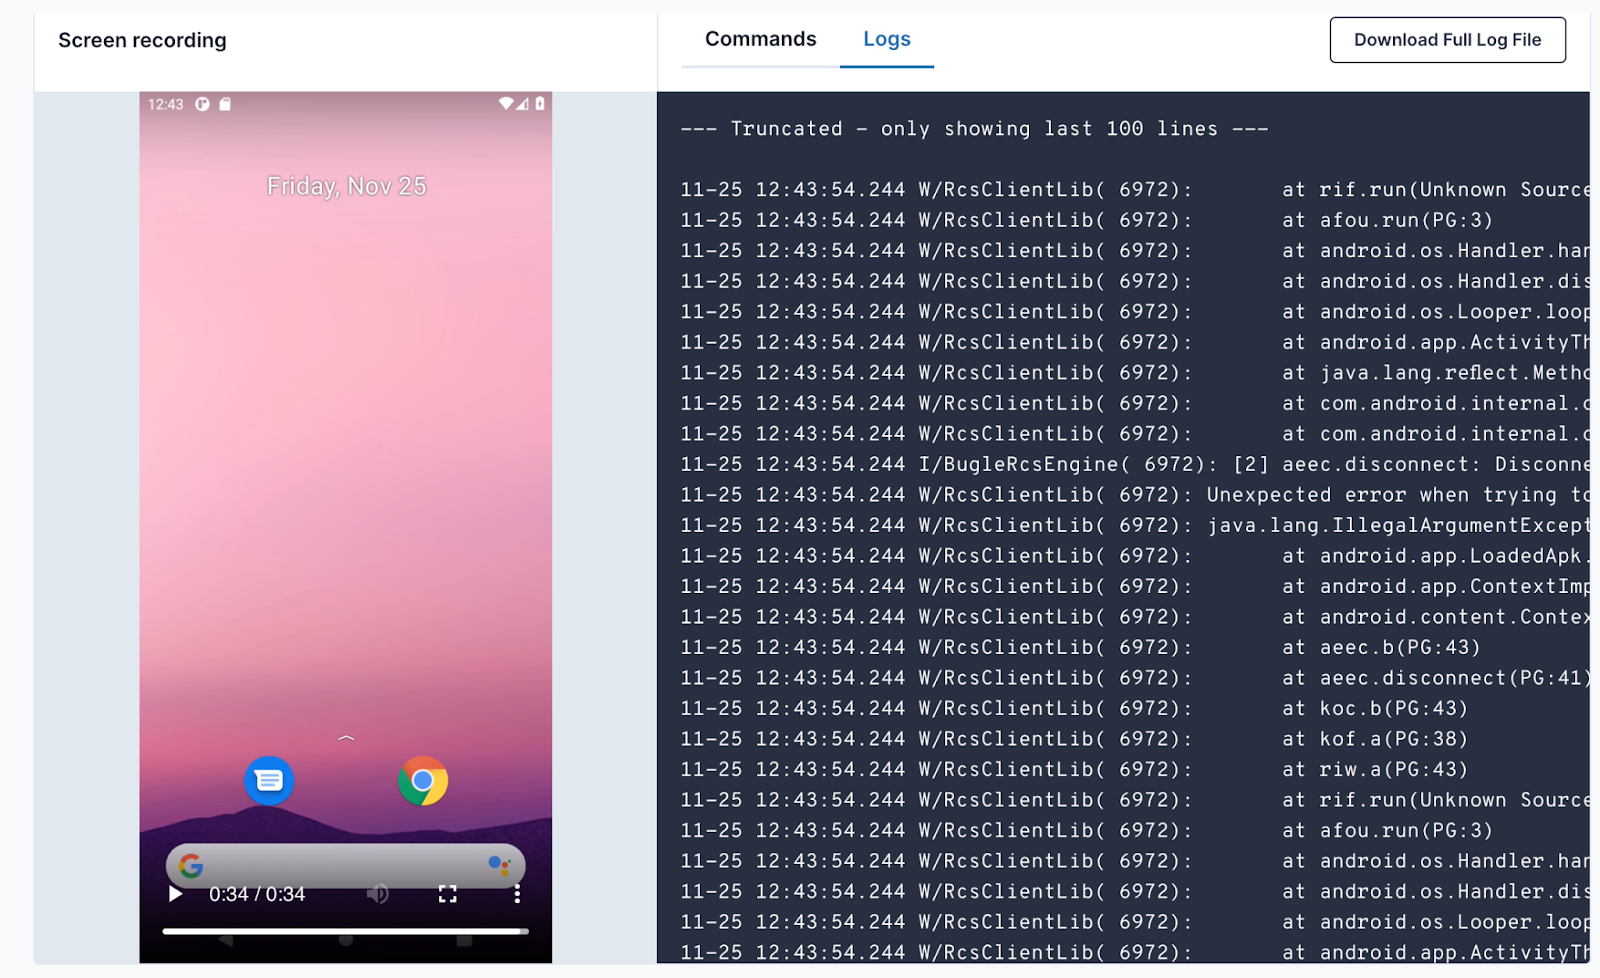
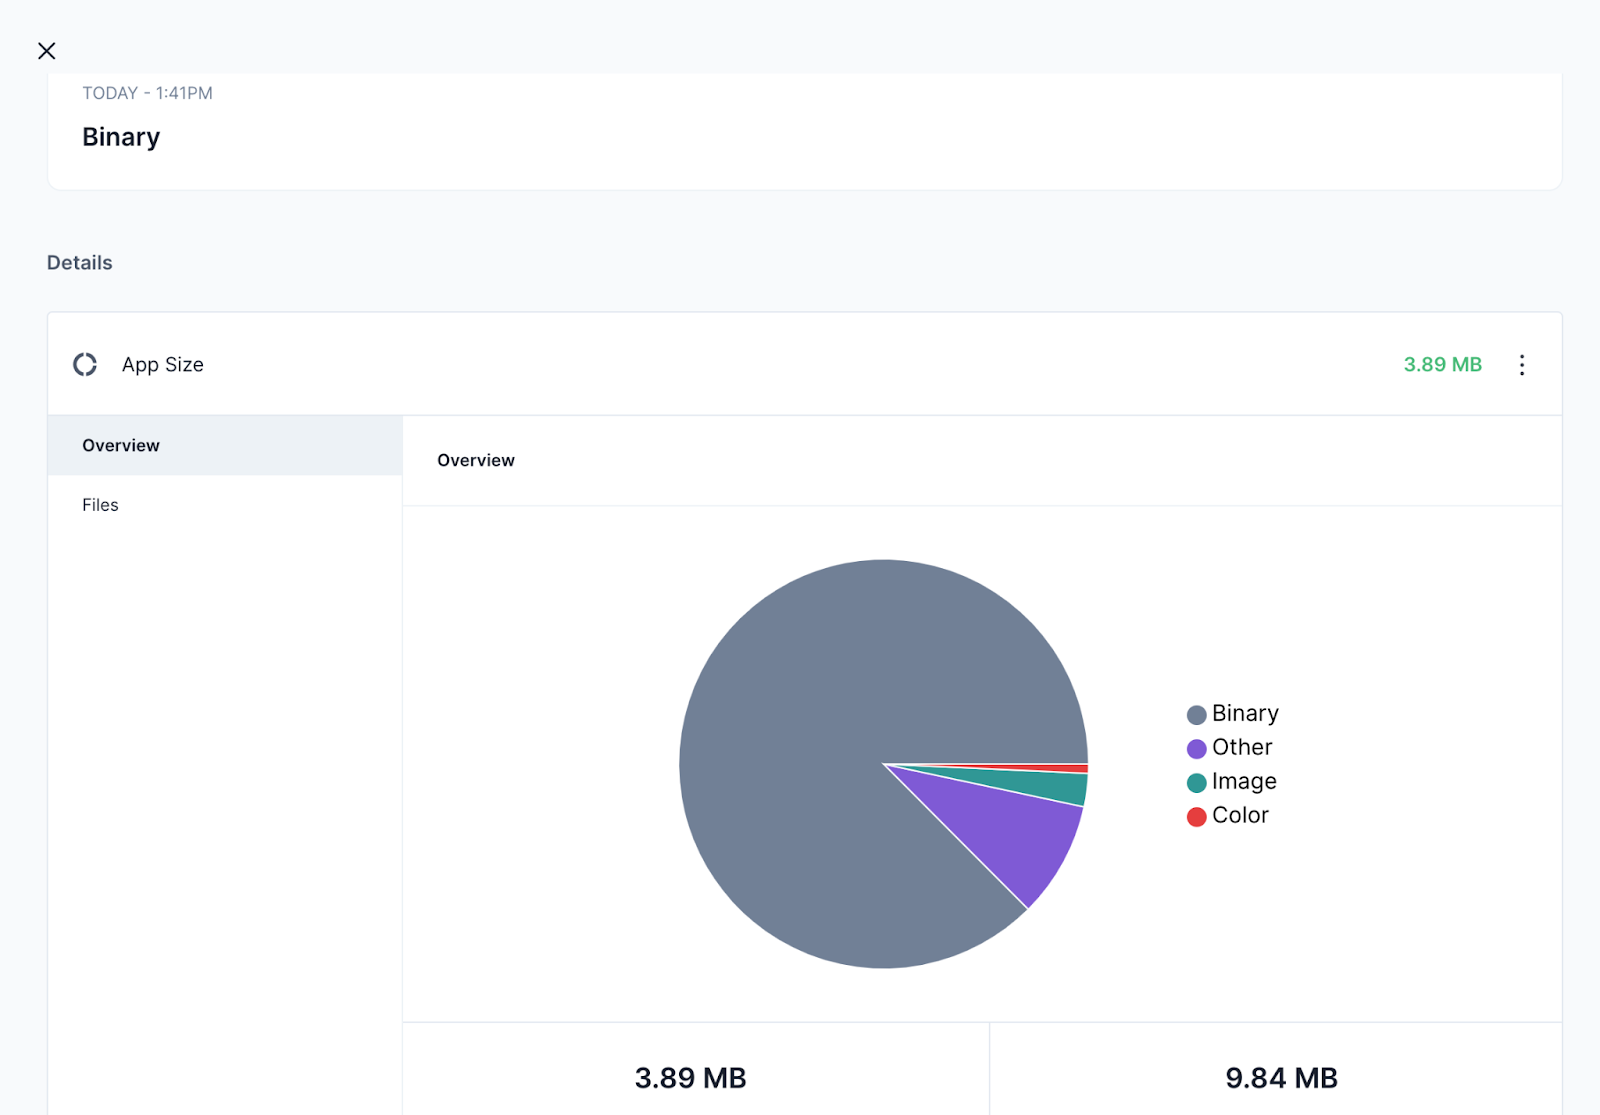
In addition, you can check the app startup performance, app size, memory leak, or Flow performance.


Bitrise Maestro
Bitrise is a Mobile DevOps platform that helps mobile developers deliver secure mobile apps faster with good quality. Hence, we are happy to announce that the Maestro UI framework can now be run with Bitrise Integration from Mobile.dev which allows you to run the Flows on Maestro Cloud quickly and easily.
It's time to get started!
I'm assuming that you have your Android application configured on Bitrise, if you don't have one you can follow the instructions here.
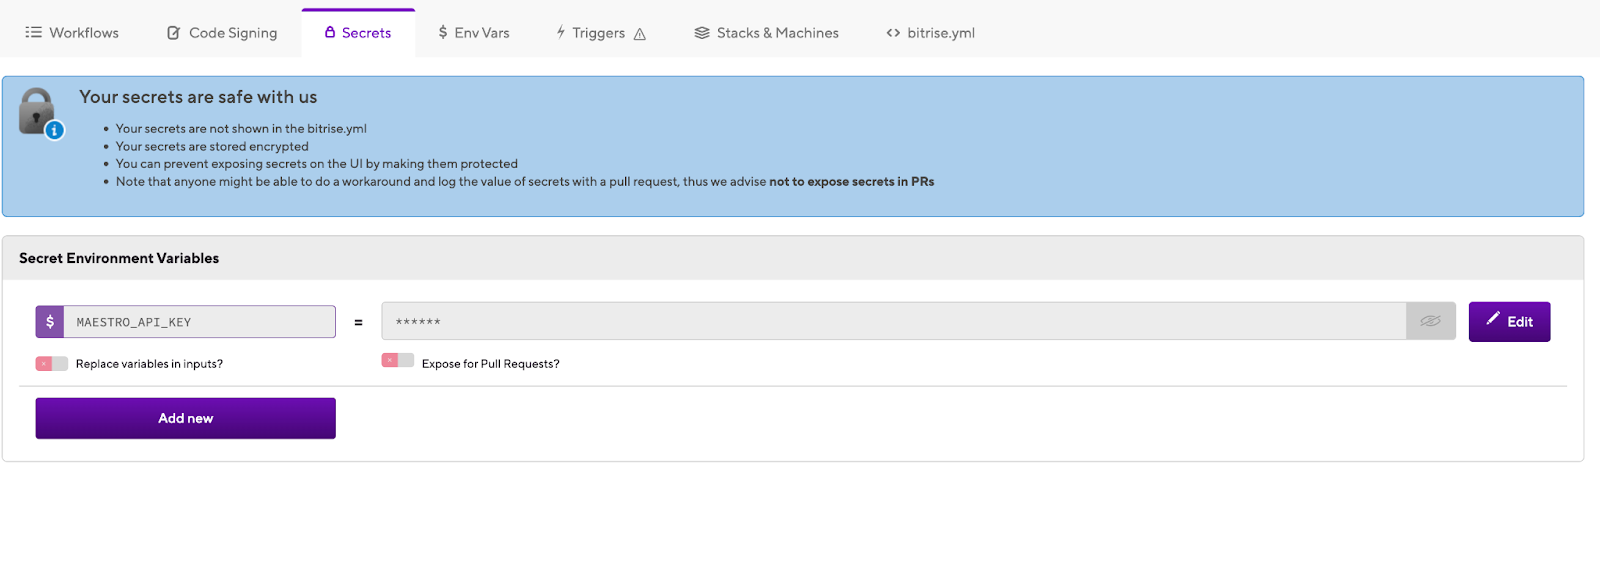
First, you need to add your Maestro Cloud API Key as a Secret on Bitrise.
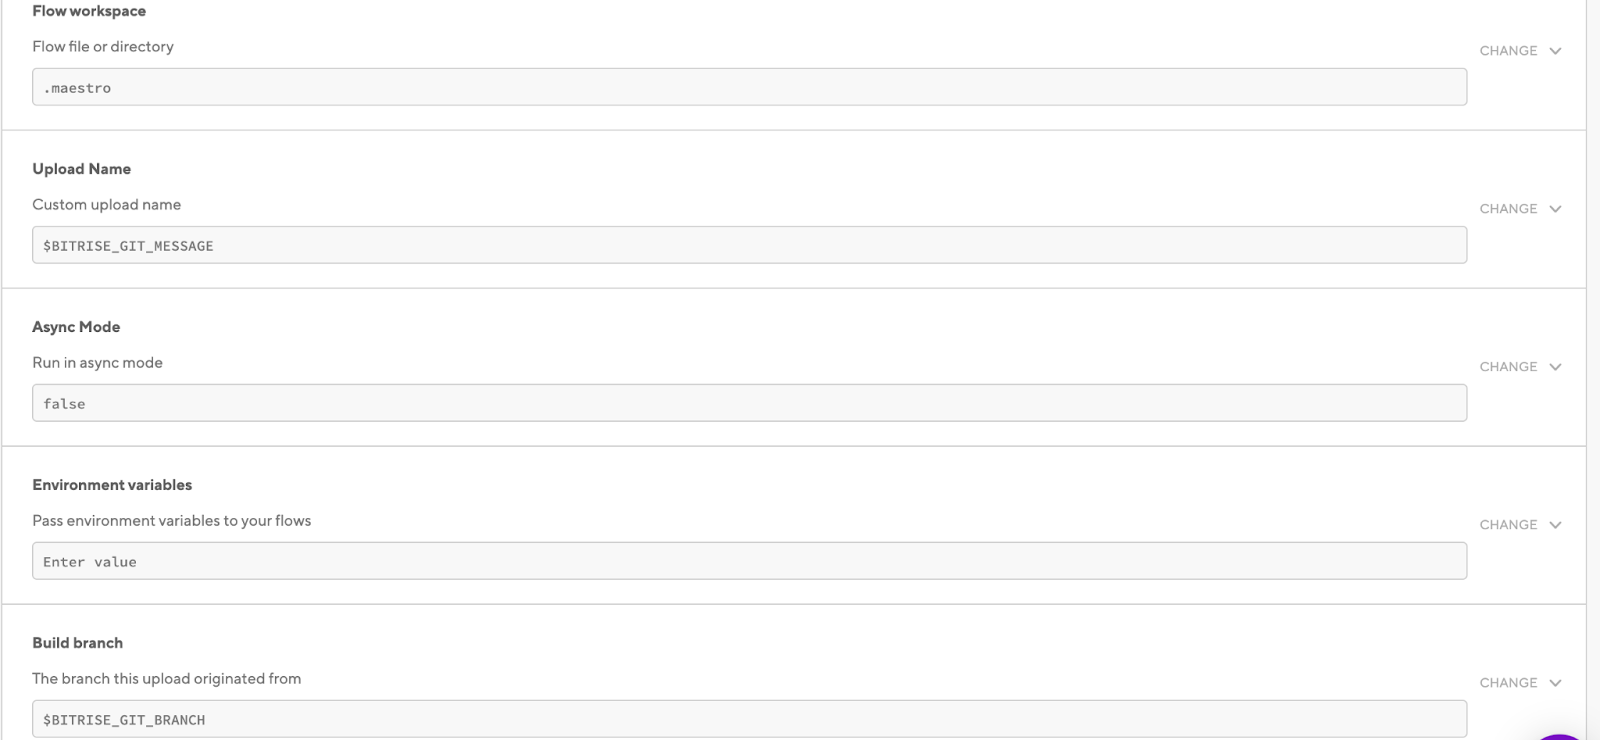
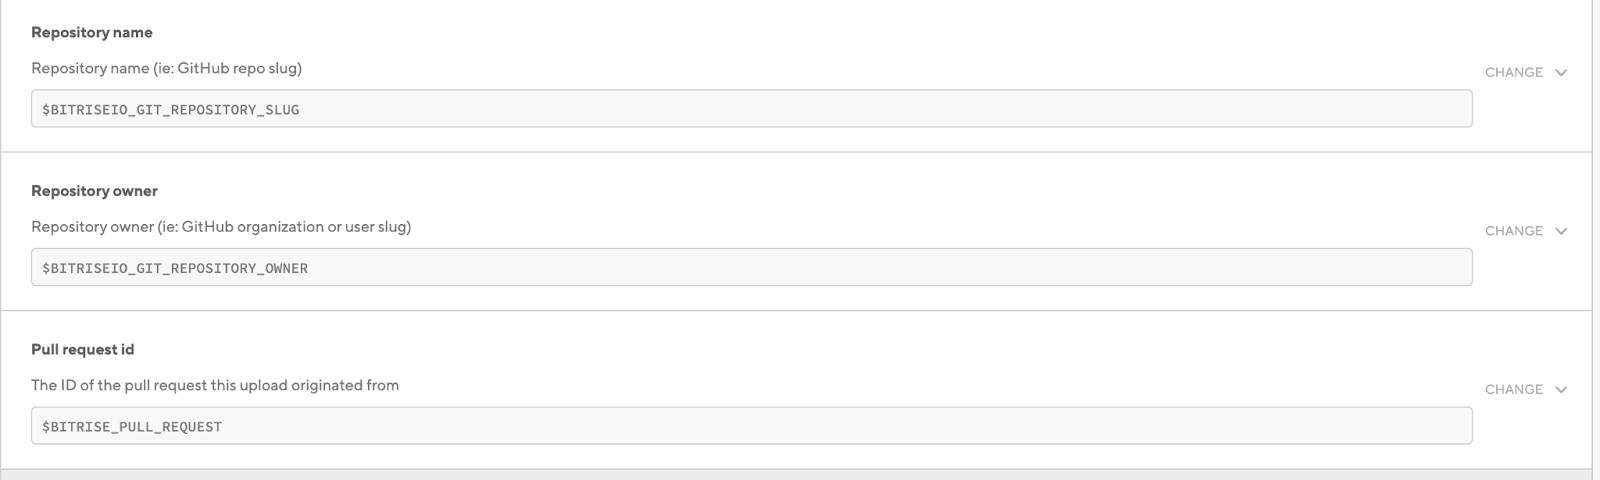
Add the Maestro Integration Step and configure the input configuration.


And the whole workflow will be like the following screenshot

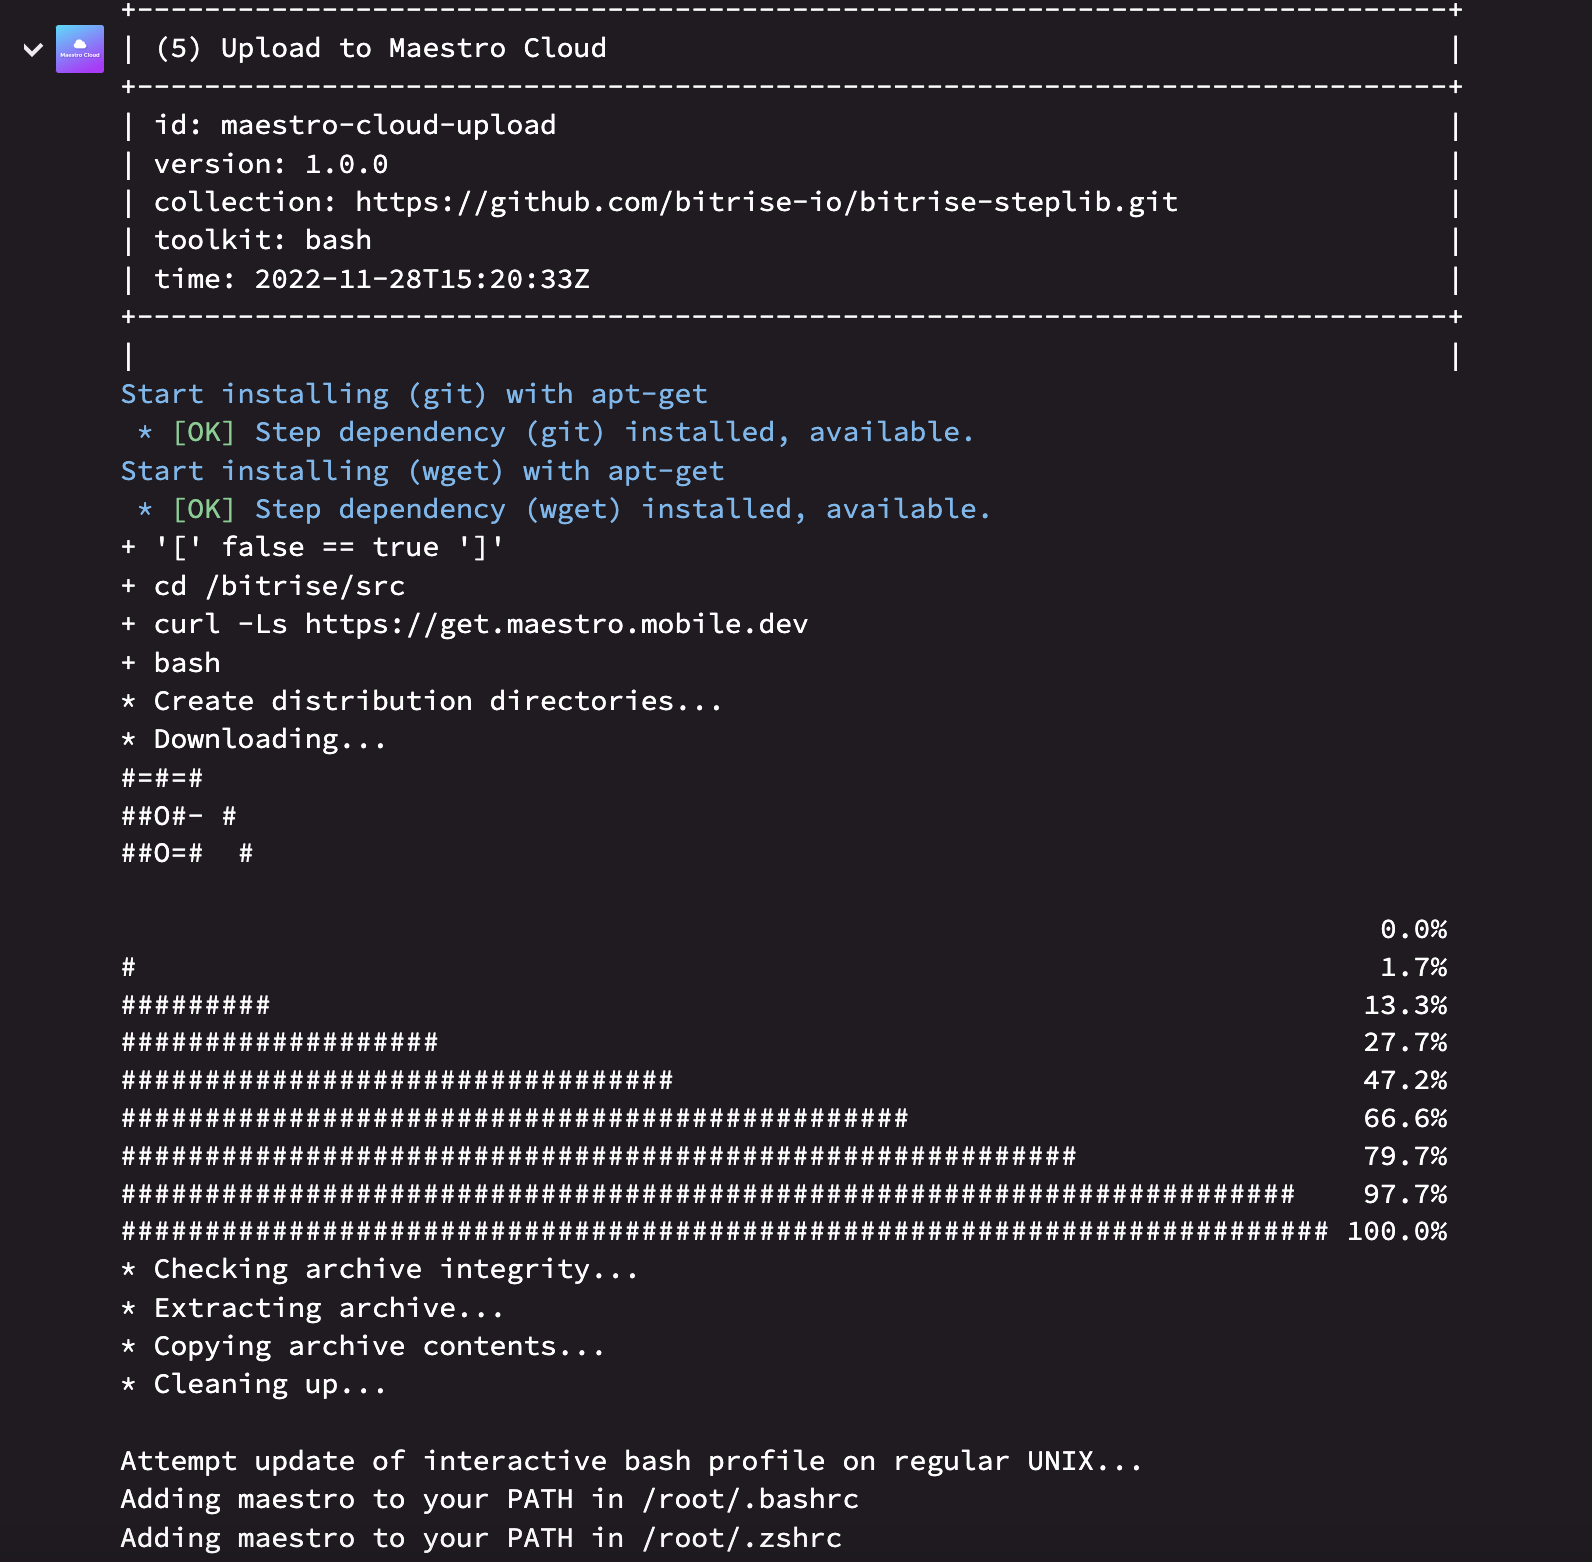
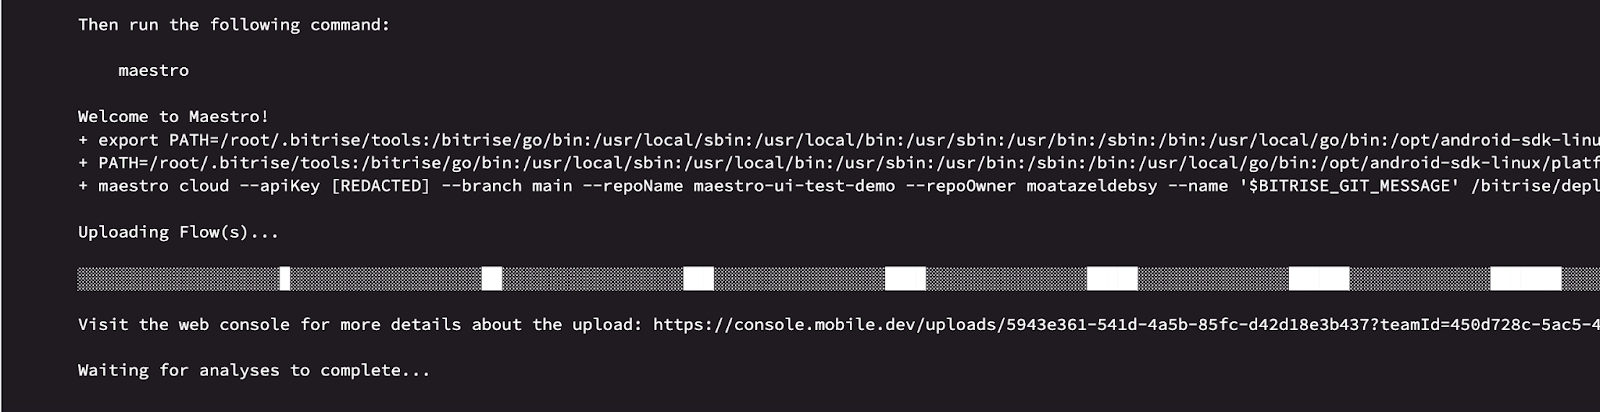
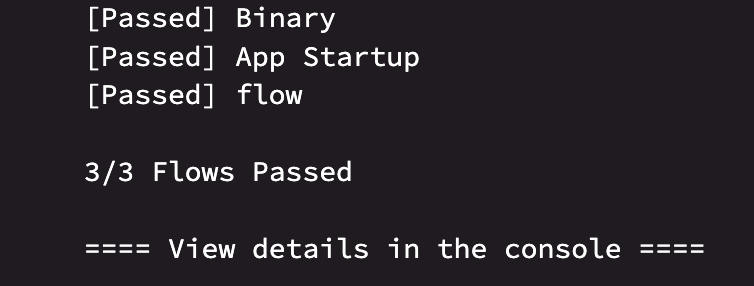
After the build has been successfully completed, you can review the Maestro integration step and you will notice that the app and the Flow uploaded to the Maestro Cloud and you can check the results on the Maestro Console.
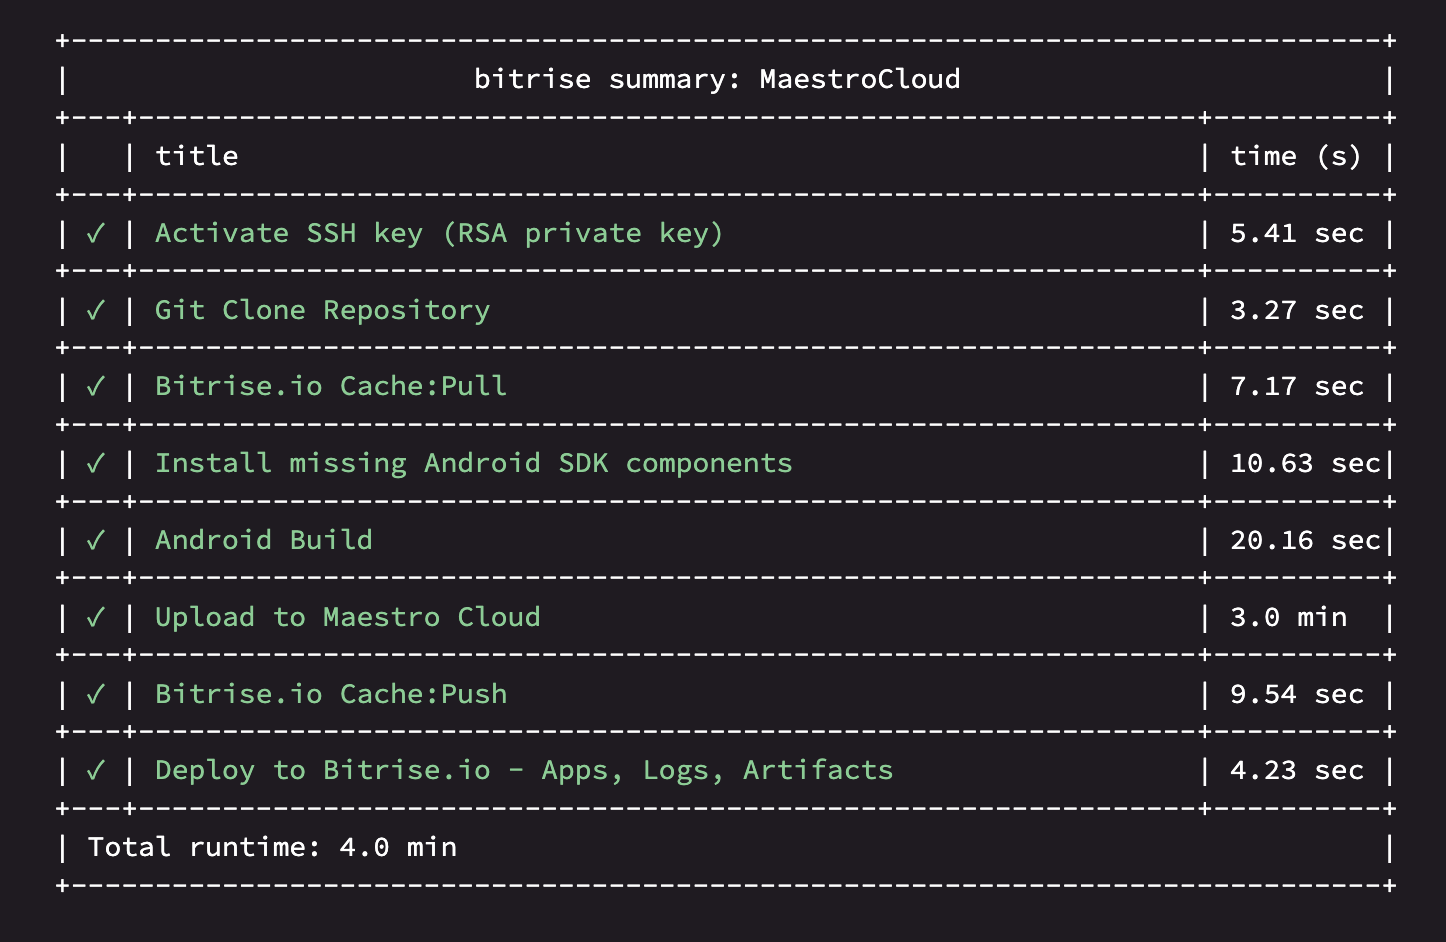
Congratulations you learn how to use the Maestro UI testing framework and run it as a part of your CI workflow with Bitrise.
In this repository, you'll find both the demo app and the entire bitrise.yml file.
This was the first part and in the next article, we will cover the following topics:
- Set up Pull Request integration with GitHub.
- Use multiple Flows at once.
- Add the Memory Leak Analysis.
- Maestro Record.
Resources
- Maestro by Mobile.dev
- Integrate Maestro into Bitrise
- GitHub - mobile-dev-inc/maestro: Painless Mobile UI Automation
- Maestro Cloud
- Introducing: Maestro — Painless Mobile UI Automation
- Public Slack Channel, then join the #maestro channel.
Thank you for reading and happy testing!
Developer Relations team
Get started for free
Get a 30-day free trial and join the 400,000+ mobile developers who already love Bitrise.
Start free trial